
 Save Pin
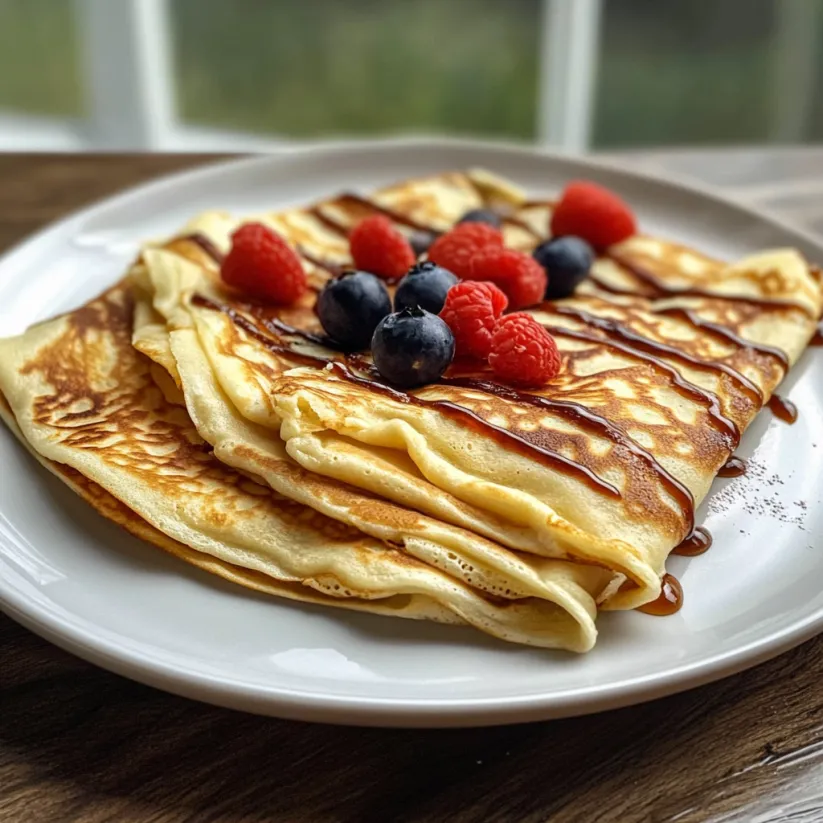
There is something special about whipping up a batch of delicate crepes from scratch and watching hungry faces light up at the breakfast table This blender crepe recipe makes the process feel entirely doable for cooks of any skill level Each crepe turns out soft yet beautifully lacy and ready for anything sweet or savory you can dream up
I first tried this blender method on a lazy Sunday morning and it has become my go to for weekend breakfasts and impromptu dessert nights My family now expects a stack at every brunch gathering
Ingredients
- Eggs: help give structure and tenderness to each crepe Choose eggs with firm shells and bright yolks for the freshest taste
- All purpose flour: provides the crepes delicate yet sturdy body Sift your flour for extra smoothness if you like
- Milk: adds richness and helps achieve a soft pliable texture Whole milk is best but low fat works too
- Mineral water: keeps the batter light and gives crepes those classic tiny bubbles Spring water with natural fizz works best
- Vegetable oil: lends a lovely supple feel and keeps crepes from sticking Look for a neutral oil with no strong flavor
- Salt: enhances every other flavor so do not skip it Opt for sea salt for a clean taste
- Nutella and fresh fruits: are classic toppings The creamy chocolate spread with berries or sliced bananas is always a winner Use ripe fruit for maximum flavor
Step by Step Instructions
- Blend the Batter:
- Add eggs flour milk mineral water vegetable oil and salt into your blender Blend until the mixture is completely smooth with no visible lumps Let the batter rest for at least five minutes so the flour fully hydrates and any air bubbles pop
- Prepare the Pan:
- Set a large non stick or crepe pan over medium high heat While it warms dip a paper towel in a bit of vegetable oil and wipe the pan to lightly coat the surface Repeat this before each new crepe to prevent sticking and ensure golden results
- Cook the Crepes:
- When the pan feels hot carefully pour about a quarter cup of batter into the center Swirl the pan gently to let the batter spread into a super thin even layer Cook until the top looks dry and the underside is gently golden brown about one to two minutes
- Flip the Crepe:
- Gently run a spatula around the edges to loosen the crepe Slip underneath and flip it smoothly Cook the second side just until it picks up a hint of golden color usually about one minute
- Keep Warm and Repeat:
- Slide finished crepes onto a plate and keep them covered so they stay tender Continue the process with the rest of the batter oiling the pan as needed
- Serve with Toppings:
- Enjoy crepes hot straight from the pan with any toppings you love I always reach for Nutella and a colorful mix of fruit
 Save Pin
I have a soft spot for mineral water in this mix It keeps crepes so airy and light reminding me of the ones my grandmother made every Sunday morning Her secret ingredient was always a splash of sparkling water
Storage Tips
Once cooled stack cooked crepes between sheets of parchment paper and store them in an airtight container in the fridge They will keep fresh for about three days For longer storage freeze crepes in stacks wrapped tightly and rewarm them in a pan or microwave
Ingredient Substitutions
If you are out of mineral water use plain water for a similar result or try club soda for extra bubbles You can swap out the vegetable oil for melted butter to add a richer flavor Almond or oat milk works if you prefer a dairy free version
 Save Pin
Serving Suggestions
Crepes are truly versatile Roll them up with ham and cheese for a savory lunch or fill them with lemon sugar and whipped cream for a dessert worthy treat My favorite way is to stack them up with each layer spread with jam or Nutella for a special occasion brunch
Cultural History
Crepes originated in Brittany in northwest France and have been cherished for centuries as a breakfast or celebration food Every February families celebrate La Chandeleur by making crepes and flipping them with a coin in hand for good luck The tradition of sharing crepes lives on in kitchens everywhere now
Commonly Asked Questions
- → How can I avoid lumpy crepe batter?
Use a blender to combine ingredients until smooth, then let the batter rest for at least 5 minutes. This helps dissolve any remaining lumps for silky results.
- → Is it necessary to let the batter rest?
Allowing the batter to rest helps the flour fully hydrate and ensures a delicate, tender texture in the crepes.
- → Which pan works best?
A non-stick pan or crepe pan is ideal. Properly greasing and preheating the pan ensures even cooking and easy flipping.
- → What fillings can I use?
Fillings range from sweet (Nutella, berries, jam) to savory (cheese, ham, sautéed vegetables). Experiment based on your preference.
- → Can I make the batter ahead?
Yes, refrigerate the prepared batter for up to a day. Stir well before using to bring it back to a pourable consistency.