
 Save Pin
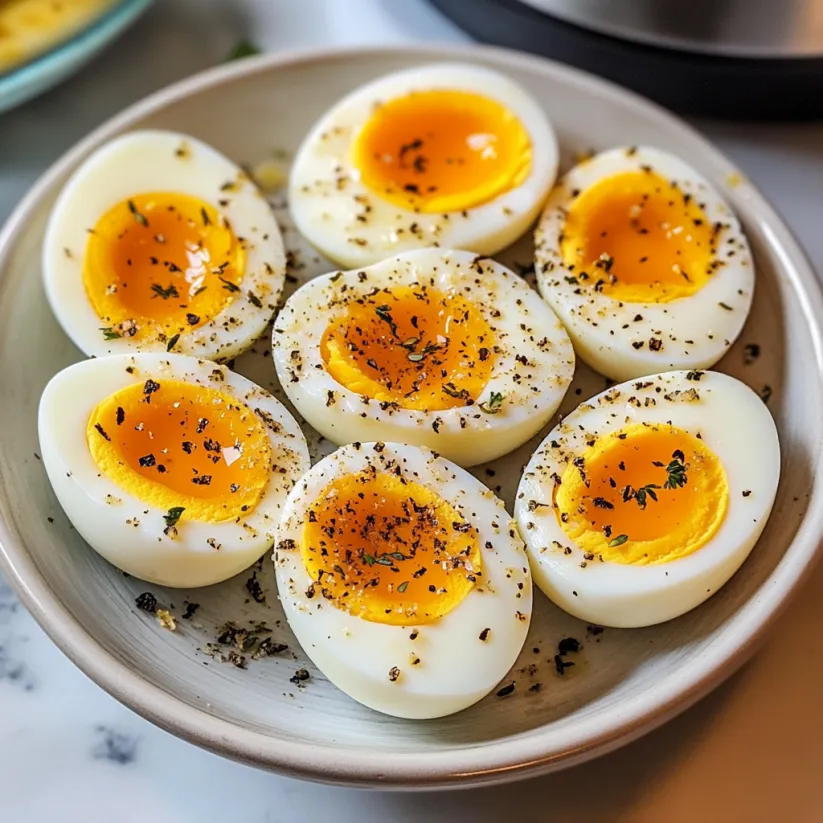
This foolproof Instant Pot boiled eggs recipe has revolutionized my breakfast routine and meal prep game. After years of struggling with stovetop eggs that were impossible to peel, I discovered this method that delivers perfect results every single time, whether you prefer jammy soft-boiled or fully set hard-boiled eggs.
I originally tried this method when I needed deviled eggs for a party and was dreading the peeling process. Now it's my go-to method that I use several times weekly for meal prep and quick protein additions to salads and sandwiches.
Ingredients
- Large eggs: At room temperature. This ensures even cooking and reduces cracking during the pressure cooking process.
- Water: The exact amount depends on your Instant Pot size – 1 cup for 6 quart models or 1½ cups for 8 quart models.
- Ice for the ice bath: Creates the temperature shock needed for easy peeling and stops the cooking process exactly when needed.
Step-by-Step Instructions
- Prepare the Instant Pot:
- Position the trivet that came with your Instant Pot inside, ensuring the eggs won't touch the bottom of the pot. Pour the appropriate amount of water for your pot size – 1 cup for 6 quart or 1½ cups for 8 quart models. Arrange eggs in a single layer on the trivet; you can cook between 1 and 12 eggs at once in a 6 quart pot.
- Prepare Ice Bath:
- While the Instant Pot comes to pressure, fill a bowl large enough to hold all your eggs with cold water and plenty of ice. This crucial step stops the cooking immediately and contributes significantly to easy peeling.
- Cook Soft Boiled Eggs:
- For soft jammy eggs, set to manual HIGH pressure for 3 minutes. The pot will take about 5 minutes to come to pressure before the timer starts. Once cooking completes, immediately release the pressure. For extra runny yolks, reduce to 2 minutes but be warned they might be slightly more delicate to peel.
- Cook Hard Boiled Eggs:
- For hard boiled eggs, set to manual HIGH pressure for 5 minutes. After cooking completes, allow natural pressure release for 5 minutes, then manually release any remaining pressure. This is the classic 555 method – 5 minutes cooking, 5 minutes natural release, 5 minutes ice bath.
- Ice Bath Transfer:
- Use tongs to carefully transfer the hot eggs directly to your prepared ice bath. Let them rest for exactly 5 minutes. This temperature shock separates the membrane from the shell, making peeling incredibly easy.
- Peel and Store:
- Gently roll each egg on the counter to create cracks all around, then peel under a light stream of cool water if needed. Store peeled eggs in an airtight container in the refrigerator for up to 3 days, or unpeeled for up to a week.
 Save Pin
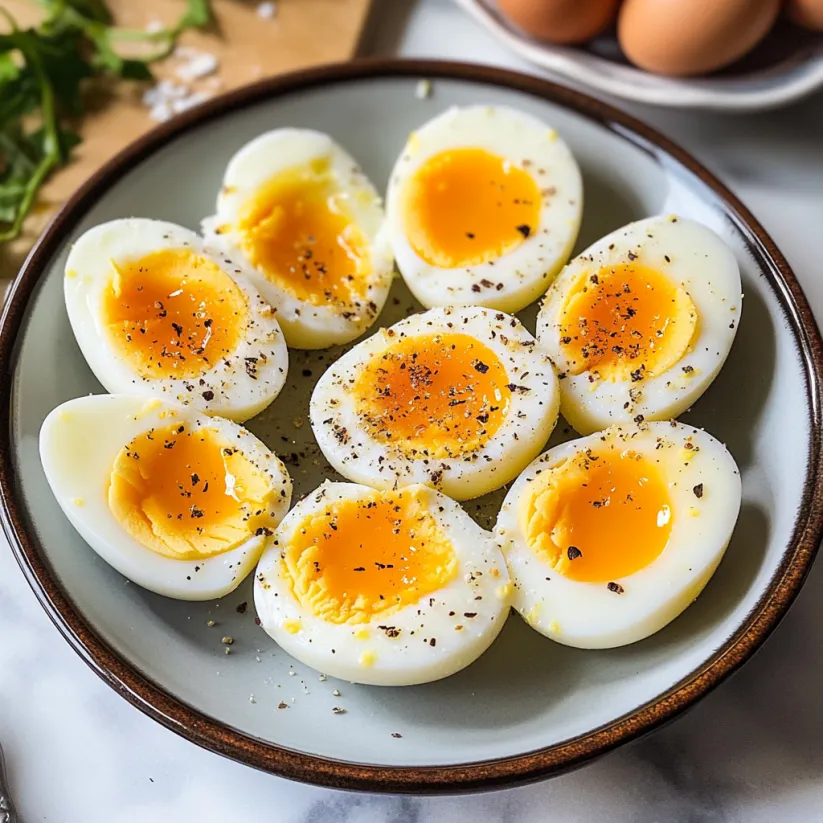
My favorite thing about this recipe is how consistent it is. I've tried countless methods over the years but nothing compares to the reliability of pressure cooked eggs. My husband, who previously avoided hard boiled eggs because of peeling frustrations, now happily makes them himself using this method.
Altitude Adjustments
Living at higher elevations affects pressure cooking times significantly. If you're above 2000 feet, add approximately 5% more cooking time for every additional 1000 feet of elevation. You might also benefit from extending the natural release time rather than increasing the pressure cook time.
For example, at 5000 feet, you might increase your hard boiled egg cooking time from 5 minutes to 5 minutes and 45 seconds, or simply extend the natural release to 7 minutes instead of 5. Some experimentation may be needed to find your perfect timing.
Troubleshooting Tips
If you find your eggs aren't peeling as easily as expected, try increasing your ice bath time to a full 10 minutes. The more complete the cooling, the easier the peeling process becomes. Another common issue is undercooking, which happens when eggs are larger than standard size.
For extra large eggs, add an additional minute to both soft and hard boiled cooking times. And if you experience cracking during cooking, ensure your eggs have come to room temperature before starting and that they're arranged properly on the trivet without touching the bottom of the pot.
 Save Pin
Commonly Asked Questions
- → What if I don't have a trivet for my Instant Pot?
You can use alternative steaming racks, a silicone egg holder, or even fashion a makeshift rack from aluminum foil formed into a coil. The key is keeping eggs above the water while allowing steam to circulate.
- → Why do my eggs sometimes crack during cooking?
Cold eggs from the refrigerator are more likely to crack due to thermal shock. Bring eggs to room temperature first by placing them in warm water for 5-10 minutes, or increase cooking time by 1 minute if using straight from the fridge.
- → How should I adjust cooking time for different yolk consistencies?
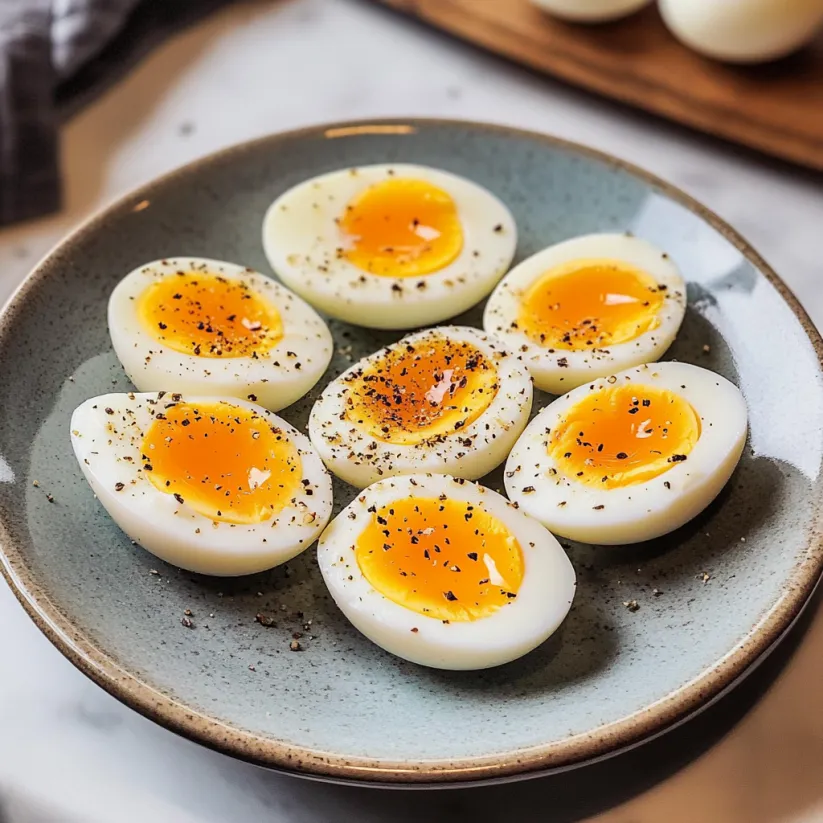
For super runny yolks, cook for 2 minutes on HIGH pressure. For jammy, soft-boiled eggs, cook for 3 minutes. For fully set but still moist hard-boiled eggs, use the 5-5-5 method (5 minutes cooking, 5 minutes natural release, 5 minutes ice bath).
- → Do cooking times vary by altitude?
Yes, higher altitudes require longer cooking times. Add approximately 5% to the cooking time for every 1,000 feet above 2,000 feet elevation. You may need to experiment with your specific pressure cooker to find the perfect timing.
- → What's the best way to peel the eggs?
After the ice bath, gently roll each egg on the counter to create small cracks all around the shell. Start peeling from the wider end where the air pocket is located. Pressure-cooked eggs generally peel much more easily than traditionally boiled eggs.
- → Can I cook different numbers of eggs at once?
Yes, you can cook anywhere from 1 to 12 eggs in a 6-quart Instant Pot using the same cooking times. Just make sure they're arranged in a single layer on the trivet for even cooking.