
 Save Pin
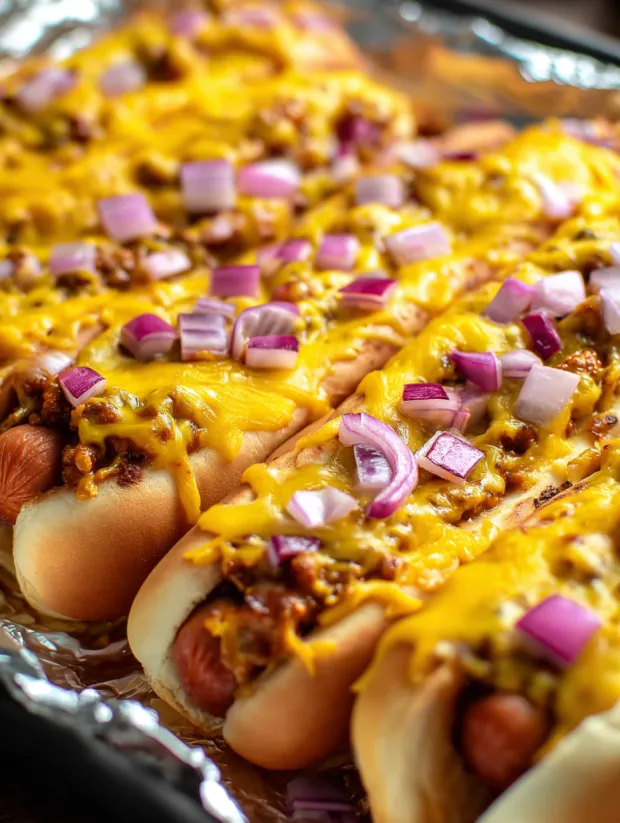
Oven baked chili cheese dogs are the ultimate crowd-pleaser for summer gatherings and game days. Each hot dog gets smothered with hearty chili, melty cheese, and golden onions before a quick trip to the oven. The result is a gooey, savory dish that always disappears in minutes at my family’s backyard parties.
The homemade chili brings these hot dogs to life but using your favorite canned version never disappoints either. The first time I served these straight from the oven, every plate came back spotless and now they are my go to for any summer party.
Ingredients
- Hot dog buns: soft buns work best because they crisp nicely in the oven
- Hot dogs: choose plump all beef hot dogs for a classic flavor
- Chili: hearty and flavorful chili is the star I love Bear Creek Darn Good Chili but use your favorite homemade or canned option
- Cheddar cheese: freshly shredded melts smoothly and adds richness try sharp cheddar for more punch
- Onion: white or yellow onion finely chopped for sweetness and crunch select onions that are firm and heavy for their size
- Butter: just a little helps toast the buns and gives restaurant style flavor choose unsalted for controlling saltiness
Step-by-Step Instructions
- Prep the Ingredients:
- Slice the buns but do not cut all the way through to help hold everything together. Finely chop the onion and shred the cheese for even melting.
- Toast the Buns:
- Brush the insides of the buns with melted butter. Place them opened on a baking sheet then bake at 350 degrees for about five minutes. This prevents soggy bottoms.
- Assemble the Dogs:
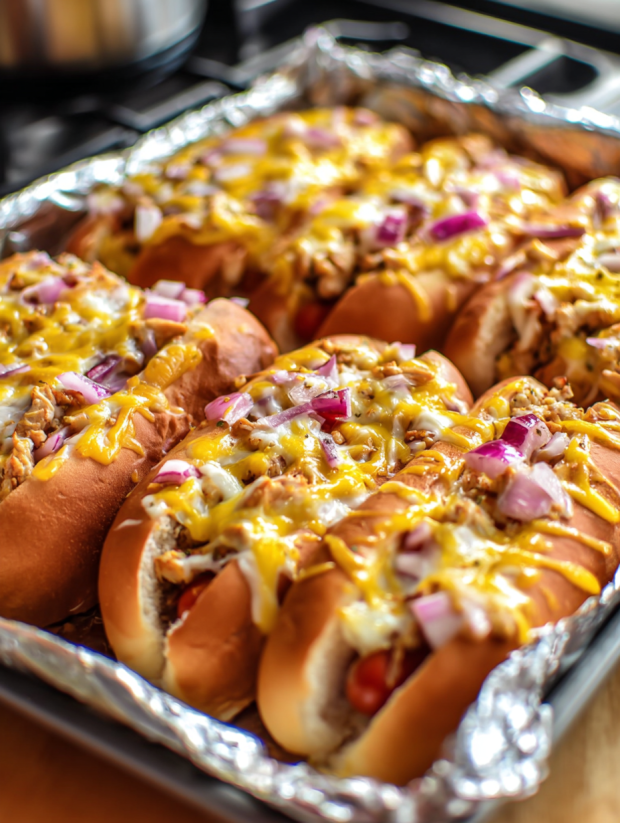
- Nestle a hot dog into each bun. Spoon generous amounts of chili over each then shower with cheese and onion on top. The chili and cheese should fully cover the hot dog for best flavor.
- Bake to Perfection:
- Return the loaded buns to the oven. Bake uncovered until the cheese melts and starts to bubble about 10 to 12 minutes. For extra golden tops broil for one minute at the end but watch closely.
- Serve Hot:
- Take the tray out of the oven and let it cool slightly. Use a spatula to lift each chili cheese dog from the tray and serve immediately with extra chopped onion if desired.
 Save Pin
There is just something special about the smell of hot chili and cheese in the oven It brings back memories of summer nights at our cabin where cousins would line up for seconds and no one would complain about leftovers.
Storage Tips
Store any leftovers in an airtight container in the refrigerator for up to three days. To reheat wrap each chili dog in foil and bake at 350 degrees until warmed through about 12 minutes. I find reheating in the oven keeps the buns from getting soggy.
Ingredient Substitutions
Swap the cheddar for Monterey Jack or pepper jack for a little kick. If you want a lighter version try turkey hot dogs and low fat cheese. For gluten free simply use gluten free buns and check your chili ingredients.
Serving Suggestions
Pile on extra toppings like pickled jalapenos diced tomatoes or crushed tortilla chips just before serving. A side of coleslaw or potato salad makes this a complete meal. For parties set up a chili dog bar and let everyone build their own.
 Save Pin
Chili Cheese Dog History
Chili cheese dogs became popular in the United States in the early twentieth century. They are a staple at cookouts ball games and diners. Each region has its own twist but baking them in the oven for extra cheesy goodness is my favorite version yet.
Commonly Asked Questions
- → Can I use store-bought chili for this dish?
Absolutely. Store-bought or canned chili saves time and still delivers great results. Choose a brand you love or try homemade for more flavor.
- → What type of cheese works best?
Sharp cheddar melts beautifully and adds a tangy punch, but you can use Monterey Jack, mozzarella, or a cheese blend to suit your taste.
- → How do I prevent soggy buns during baking?
Lightly toasting the buns before assembling helps keep them crisp. Also, avoid overloading with chili to prevent excess moisture.
- → Can I add other toppings before baking?
Yes, chopped jalapeños, diced bell peppers, or sliced olives add extra flavor. Add as desired before the cheese layer.
- → Are these suitable for freezing and reheating?
Yes. Assemble and bake, then freeze in an airtight container. Reheat in the oven for best texture and flavor.