
 Save Pin
This recipe transforms ordinary corn on the cob into a summer sensation that will have everyone asking for seconds. The husks create a natural steam chamber that locks in moisture while still allowing those beautiful char marks to develop, giving you the perfect balance of juicy kernels with smoky flavor.
I discovered this grilling technique during a backyard cookout gone wrong when we ran out of aluminum foil. That happy accident led to the juiciest grilled corn I'd ever tasted, and it's been my go-to method ever since.
Ingredients
- Fresh sweet corn: With husks still attached provides natural protection during grilling and adds a subtle smokiness
- Unsalted butter: Allows you to control the salt level while adding richness
- Parmesan cheese or nutritional yeast: Brings a savory umami element to the Mexican version
- Chili powder: Adds classic Mexican flavor without overwhelming heat
- Chipotle chile powder: Introduces a subtle smokiness and depth
- Ground cumin: Contributes earthy warmth that complements the natural sweetness of corn
- Kosher salt: Enhances all flavors use it generously for corn
- Fresh lime: Brightens everything with acidity and aroma
Step-by-Step Instructions
- Soak the Corn:
- Submerge corn ears in cold water after trimming the top silk and removing the outermost husk layer. This critical soaking step prevents the husks from burning and helps create steam inside the husk package. Let the corn soak for at least 10 minutes, though you can extend this up to 8 hours if preparing ahead.
- Prepare Your Grill:
- Heat your grill to a medium temperature around 350-400°F. This moderate heat allows the corn to cook through evenly without burning the husks too quickly. If using charcoal, aim for a medium-hot fire where you can hold your hand above the grate for about 4-5 seconds.
- Grill with Patience:
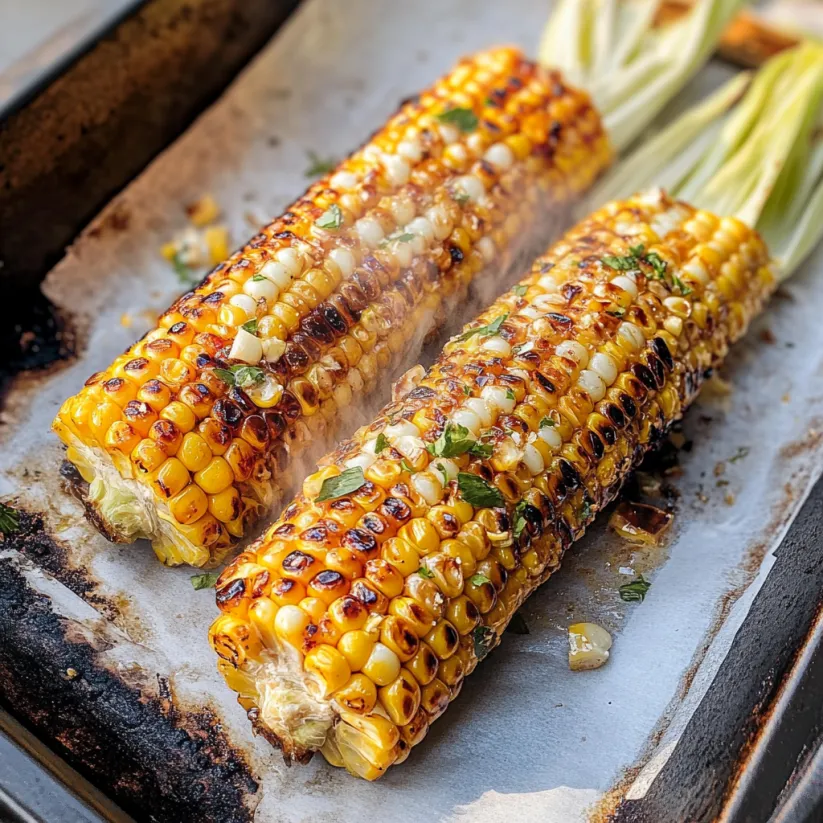
- Place soaked corn directly on the grill grates, close the lid, and cook for 15-20 minutes total. Turn each ear every 5 minutes to ensure even cooking. You'll know the corn is done when you can easily pierce kernels with a knife tip. The husks will char, but the moisture inside protects the corn.
- Prepare Your Flavor Base:
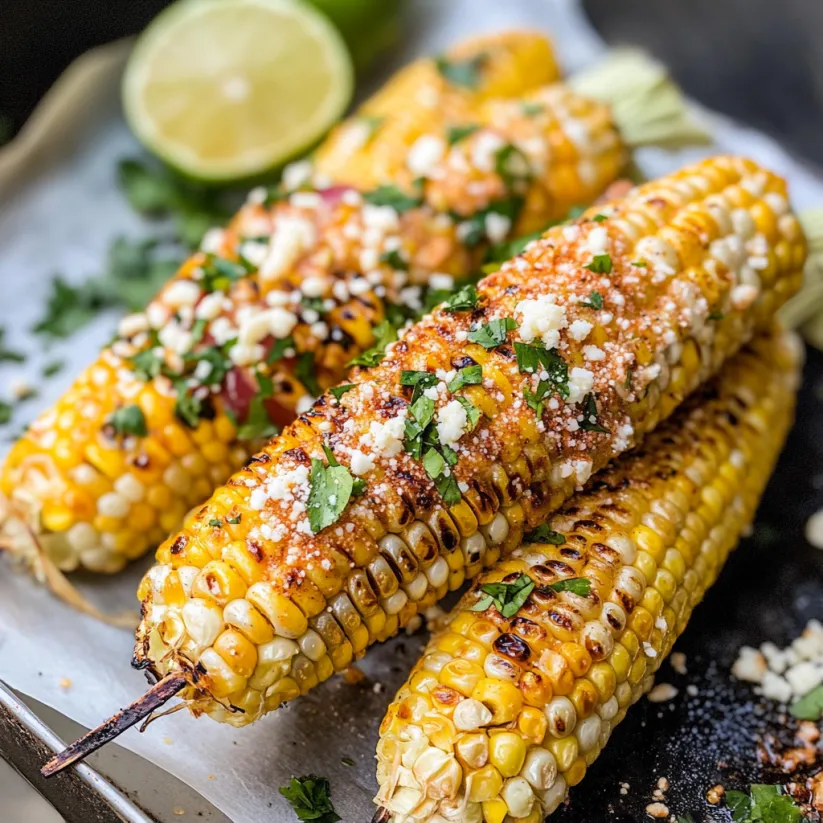
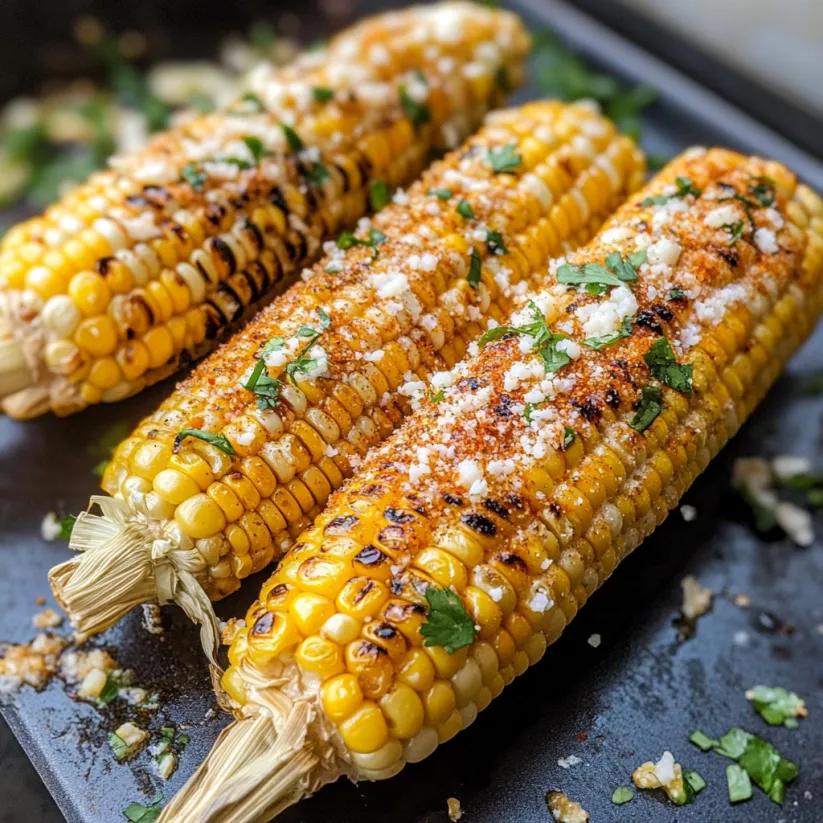
- While corn cooks, prepare your chosen seasoning. For Mexican style, melt butter and combine with spices, cheese and lime zest in a small bowl until well incorporated. For classic style, simply have room temperature butter ready with salt and pepper nearby.
- Reveal and Season:
- Allow corn to cool slightly so you can handle it, then peel back the charred husks. Remove any stubborn silk strands by rubbing with a kitchen towel. Brush generously with your prepared butter mixture or classic butter. For Mexican style, finish with a squeeze of fresh lime juice right before serving.
 Save Pin
My family fights over the Mexican version with its perfect balance of spice and lime. My daughter once ate three full ears by herself, declaring it "better than dessert" which remains the highest praise any vegetable has ever received in our household.
Make-Ahead Options
You can prep this recipe hours before your gathering by trimming and soaking the corn. Keep the ears submerged in water for up to 8 hours in the refrigerator. This makes the corn ready to throw on the grill whenever your guests arrive, allowing you to focus on other dishes or socializing. The flavored butter mixtures can also be prepared up to three days ahead and stored in covered containers in the refrigerator.
Flavor Variations
Beyond the Mexican and classic versions provided, grilled corn welcomes countless flavor combinations. Try an Italian version with melted butter, garlic, basil, and Parmesan. For Asian flair, mix butter with soy sauce, a touch of honey, and sesame seeds. Caribbean style uses coconut oil instead of butter with a pinch of allspice and brown sugar. The possibilities are endless once you master the basic grilling technique.
 Save Pin
Common Mistakes to Avoid
Skipping the soaking step almost guarantees burned husks and underdone corn. The water creates steam inside the husk package that cooks the corn evenly. Another frequent error is using too high heat. Medium heat allows time for the corn to cook through without excessive charring. Finally, resist the urge to remove the corn too early. Properly cooked corn needs those full 15-20 minutes to develop optimal sweetness and tenderness.
Commonly Asked Questions
- → Should I remove the corn husks before grilling?
No, it's best to keep the husks on while grilling. Remove only the outermost layer and trim the tassel. The husks add flavor, help the corn steam properly, and allow for perfect charring. Soaking the corn in water beforehand prevents the husks from burning.
- → How long should I grill corn on the cob?
Grill the corn for 15-20 minutes over medium heat (350-400°F), turning every 5 minutes to ensure even cooking. The corn is done when kernels are tender when pierced with a thin, sharp knife.
- → What's the best way to season grilled corn?
This method offers two delicious options: a Mexican-style seasoning with butter, Parmesan, chili powder, chipotle chile powder, cumin, lime zest and juice; or a classic preparation with butter, salt and pepper. The Mexican version adds wonderful depth of flavor.
- → Can I prepare grilled corn in advance?
Yes! You can soak the corn up to 8 hours before grilling. For leftovers, refrigerate for up to 4 days. Reheat in a 350°F oven for about 8 minutes, flipping halfway through. You can also cut the kernels off and freeze them for up to a month.
- → Can I grill corn without the husks?
Yes, though the corn will be slightly less tender and more charred. Remove the husks and silk completely, rub with olive oil, and grill over medium heat for about 7 minutes, turning occasionally as the corn chars. Season as desired after grilling.