
 Save Pin
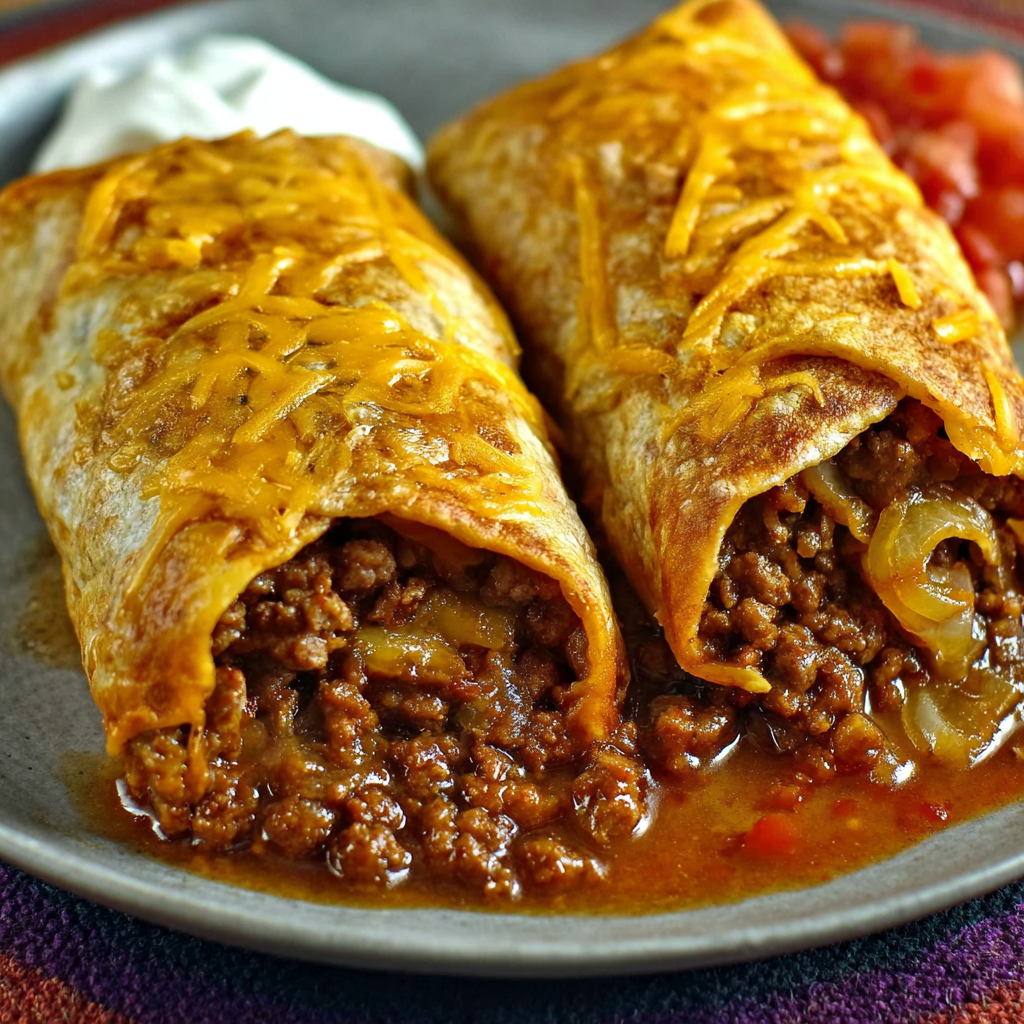
This Crispy Beef and Cheese Chimichangas recipe captures the magic of a crunchy, cheesy Tex-Mex favorite made right in your kitchen. These chimichangas deliver all the rich flavors and satisfying textures you want, with the ease of baking instead of frying. The combination of melty cheese, seasoned ground beef, and refried beans wrapped in a perfectly crisp tortilla makes for a crowd-pleasing meal any night of the week.
I first made these during a busy week and they quickly became a staple because they come together fast and taste just like a restaurant version but better since you control every ingredient.
Ingredients
- Ground beef: one and a half pounds for a hearty, protein-rich filling that browns nicely adding depth
- Yellow onion: one medium, diced to bring sweetness and a fresh savory touch to the filling
- Garlic: three cloves, minced to boost flavor with its aromatic sharpness
- Taco seasoning: two tablespoons for that classic Tex-Mex spice blend which you can make yourself or buy quality pre-mixed
- Refried beans: one sixteen-ounce can to add creamy texture and help hold the filling together
- Shredded cheddar cheese: two cups, gives sharp, tangy flavor and essential meltiness
- Shredded Monterey Jack cheese: one cup for a mild, creamy melt that balances the cheddar
- Diced green chiles: one small four-ounce can for a mild kick and authentic southwestern taste
- Salt and pepper: to taste for seasoning balance
- Large flour tortillas: eight to ten-inch size that are flexible enough to roll without cracking
- Vegetable oil or cooking spray: to brush on the chimichangas for that golden crisp finish
- Butter (melted): two tablespoons, optional for extra richness on the outside edges before baking
- Sour cream, guacamole, salsa, pico de gallo, shredded lettuce, diced tomatoes, and cilantro: for fresh, cool toppings
How to Make Crispy Beef and Cheese Chimichangas
- Cook the Beef:
- In a large skillet over medium-high heat, brown the ground beef along with the diced onion. Break the meat apart as it cooks so it browns evenly. Drain off any excess fat to avoid greasiness.
- Season the Filling:
- Add the minced garlic and taco seasoning to the beef and onion mixture. Cook for another one to two minutes until you can smell the spices. Season with salt and pepper to your liking.
- Add Beans and Cheese:
- Stir in the refried beans, diced green chiles, and one cup of shredded cheese. Mix everything together until the cheese starts to melt and the filling becomes thick and cohesive. Take the pan off the heat.
- Prep Your Workspace:
- Preheat your oven to 425 degrees Fahrenheit. Line a large baking sheet with parchment paper to prevent sticking. Arrange your tortillas, beef mixture, and remaining cheese close by so assembly is smooth and fast.
- Warm Tortillas:
- Microwave the tortillas for twenty to thirty seconds to make them soft and pliable. This prevents cracking and tearing when you roll the chimichangas.
- Fill the Tortillas:
- Spoon about a half cup of the filling into the center of each tortilla. Top with a generous handful of the remaining shredded cheese to add gooey melted pockets inside.
- Fold and Seal:
- Fold in the sides of each tortilla first and then roll from the bottom up tightly to seal the filling inside. Place each chimichanga seam-side down on the baking sheet so they don’t unroll while baking.
- Brush with Oil:
- Lightly spray or brush the tops and sides with vegetable oil or melted butter if using. This step gives them their signature golden crispy crust.
- Bake Until Golden:
- Place the baking sheet in the oven and bake for twenty to twenty-five minutes. Flip the chimichangas halfway through to ensure all sides become crispy and golden.
- Serve:
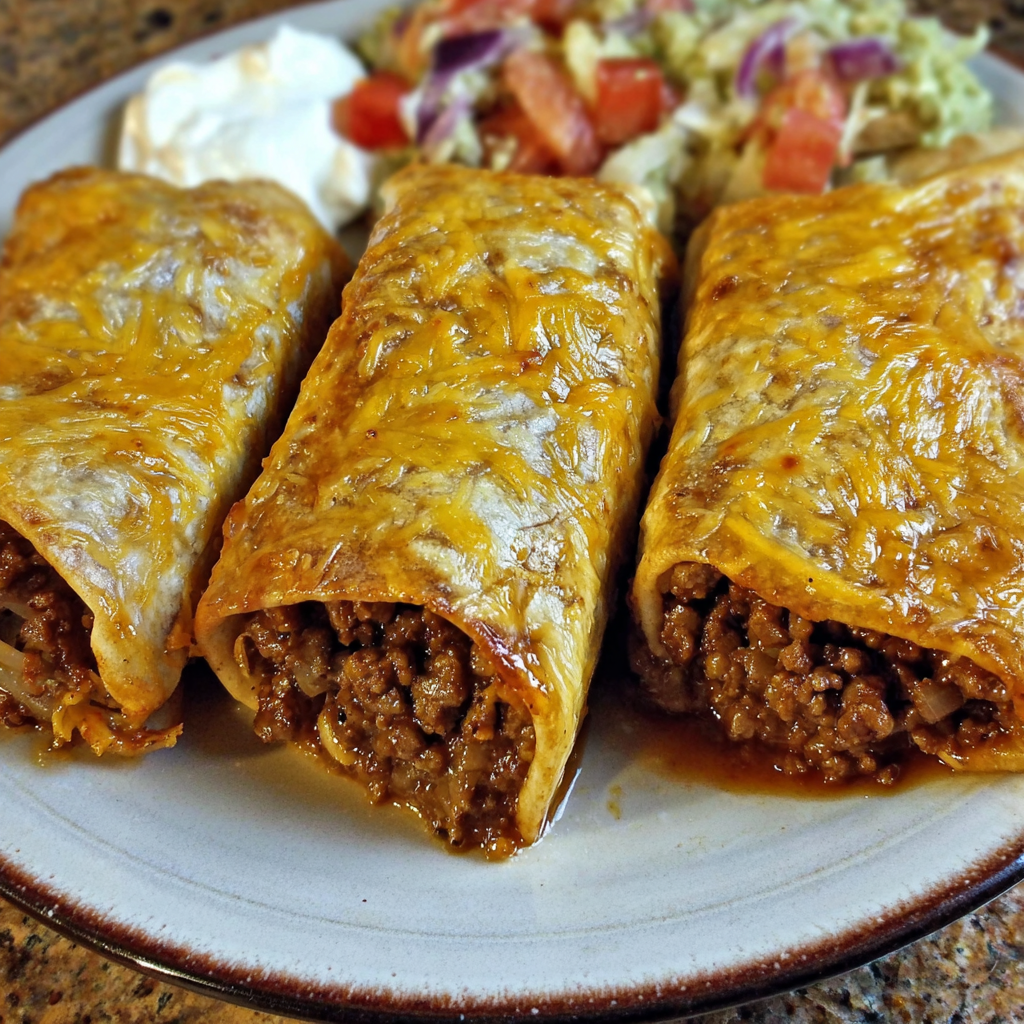
- Let the chimichangas rest for five minutes before serving. Offer your favorite toppings such as sour cream, guacamole, salsa, or pico de gallo for added brightness and freshness.
 Save Pin
One of my favorite parts of this recipe is the folding technique that seals in all the cheesy beef goodness so nothing leaks during baking. It reminds me of teaching my daughter how to fold burritos tightly and feeling proud when we nail that perfect golden crunch together.
Storage Tips
Store any leftover chimichangas in an airtight container in the refrigerator for up to three days. They may lose some crispiness but will reheat well in the oven. Avoid microwaving to keep them from getting soggy.
To freeze before baking, roll the chimichangas completely then wrap each tightly in plastic wrap. Freeze for up to three months. When ready, bake directly from frozen and just add a few extra minutes to the cooking time.
Prepare the filling ahead of time and keep it in the fridge. Assemble and bake fresh on the day you want to serve for maximum flavor and texture.
Ingredient Substitutions
Use shredded slow-cooked beef instead of ground beef for a different texture and richer flavor that works beautifully in this recipe.
If you prefer a keto-friendly version, swap out the flour tortillas for low-carb or cauliflower tortillas and omit the beans. Add extra cheese to keep the filling hearty.
Try a vegetarian option by doubling the beans and adding cooked peppers, corn, or rice for a filling that satisfies meatless cravings.
For more indulgence, serve with a warm cheese sauce drizzled over the top for a diner-style experience without the deep-fried oil.
Serving Suggestions
Serve your chimichangas with Spanish rice and refried beans for a classic Tex-Mex plate. Fresh pico de gallo or diced avocado salad add light brightness.
Chopped lettuce, tomatoes, and cilantro offer refreshing texture alongside rich chimichangas.
These chimichangas also work great as finger food cut into bite-sized pieces for parties served with different salsas and dips.
Cultural Context
Chimichangas are a popular Tex-Mex dish believed to have originated in Arizona. They take inspiration from burritos but with the added twist of being fried or baked to crispy golden perfection. This home-baked version respects the traditional flavors while making it accessible and lighter for everyday cooking.
Commonly Asked Questions
- → What cheeses work best for chimichangas?
A blend of sharp cheddar and smooth Monterey Jack cheeses offers the perfect balance of flavor and meltiness for chimichangas. You can also experiment with Mexican blend or pepper jack for a spicy twist.
- → How do I keep chimichangas crispy without frying?
Brushing the rolled chimichangas with oil or melted butter and baking them on a parchment-lined sheet helps develop a golden, crunchy shell without the need for deep frying.
- → Can I prepare the filling ahead of time?
Yes, the beef and bean filling can be made in advance and refrigerated. Assemble and bake the chimichangas when ready for a quick, fresh meal.
- → What is the best way to store leftover chimichangas?
Store leftovers in an airtight container in the refrigerator up to 3 days. Reheat in the oven to restore crispiness, avoiding the microwave which can make the shell soggy.
- → Are there variations for different dietary preferences?
Absolutely! Use shredded meat, skip the beans for low-carb, or add extra vegetables for a vegetarian option. Different fillings can easily be swapped to suit your tastes.
- → Can these be cooked in an air fryer?
Yes, air frying at around 400°F for 10-12 minutes with a flip halfway through creates a wonderfully crispy texture with less oil.