
 Save Pin
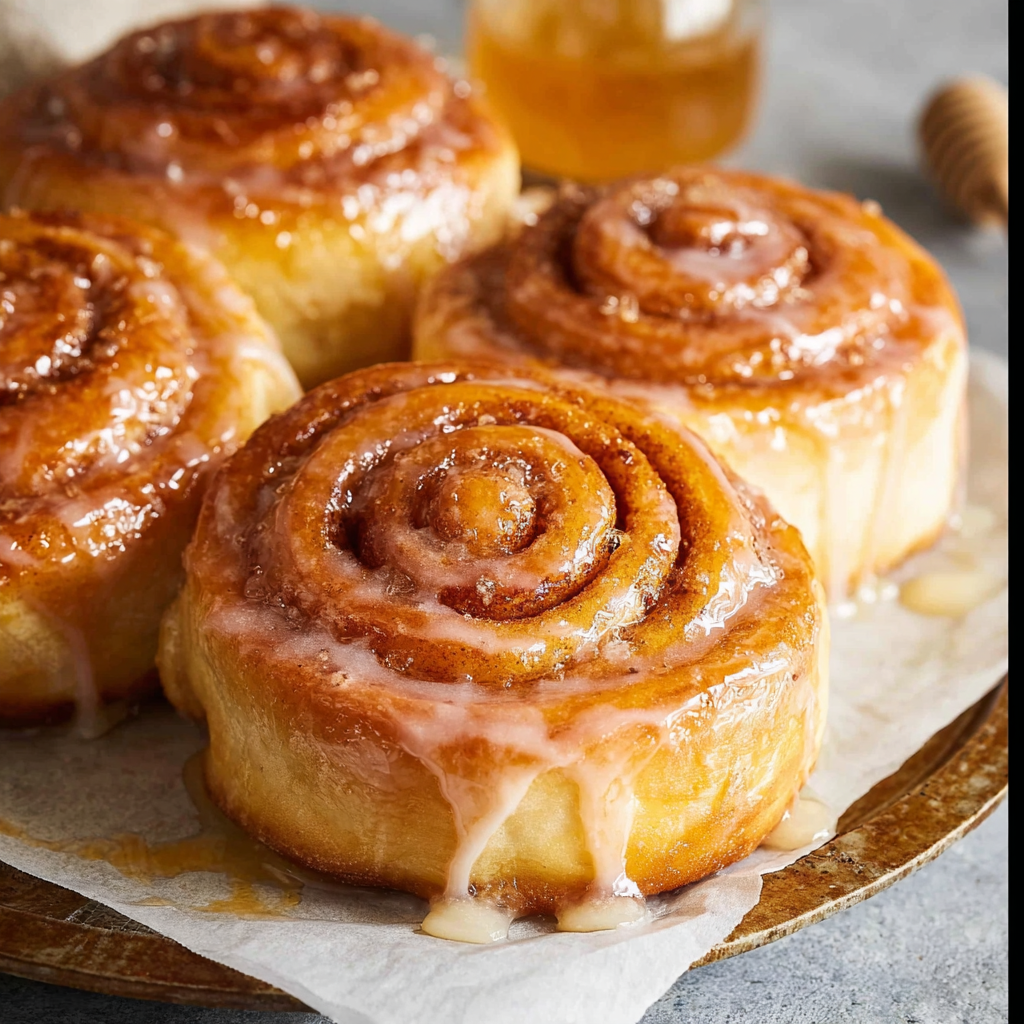
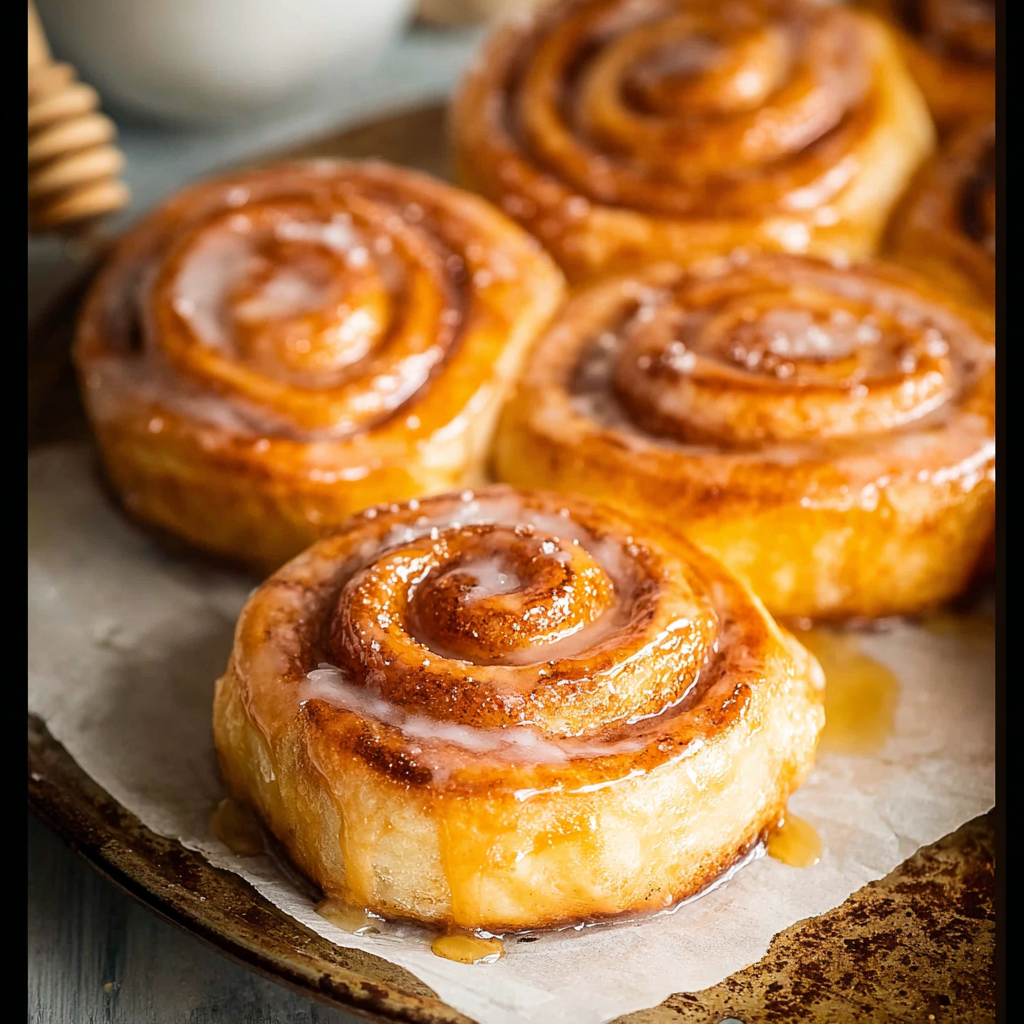
Soft, fluffy, and glazed with just the right amount of sweetness, these Classic Homemade Honey Buns bring a comforting warmth to any morning. The dough rises gently to create tender rolls that hold gooey cinnamon swirls, finished with a sticky honey glaze that melts on your tongue. Baking them yourself means enjoying fresh, preservative-free treats that fill your kitchen with an irresistible aroma and deliver a nostalgic taste of simpler times.
I remember the first time I pulled these honey buns from the oven—the smell made the whole house feel like a bakery and since then, they are a weekend favorite that my kids request without fail.
Ingredients
- All-purpose flour: which provides the essential structure for a tender yet sturdy dough
- Whole milk: adds richness and moisture that keeps the buns soft and flavorful
- Active dry yeast: is the magic ingredient that helps the dough rise to fluffy perfection
- Granulated sugar: sweetens the dough just enough to balance the glaze without overpowering
- Salt: not only enhances the overall flavor but also strengthens the dough’s texture
- Eggs: bind ingredients while adding a natural richness and help with the dough’s elasticity
- Unsalted butter: imparts a creamy, buttery flavor to both the dough and the filling
- Ground cinnamon: is key to the classic warm spice that swirls inside every roll
- Honey: creates the shiny, sticky glaze that gives these buns their signature finish
- Powdered sugar: mixed with milk makes the smooth icing that perfectly coats the buns
Choosing high-quality cinnamon and the freshest honey will elevate the flavor and aroma to new levels.
Step-by-Step Instructions
- Make the Dough:
- Warm the milk gently to about body temperature then stir in sugar and yeast. Allow the mixture to sit for 5 to 10 minutes until bubbly and active. Add melted butter, eggs, and salt to the yeast mixture. Gradually incorporate the flour, stirring until a soft, sticky dough forms.
- Knead and Let Rise:
- Using a stand mixer fitted with a dough hook, knead the dough for five to six minutes until it becomes smooth and elastic. Transfer to a lightly greased bowl, cover it, and let it rise in a warm spot for about one hour or until it doubles in size.
- Roll and Fill:
- Lightly flour a clean surface and roll the dough into a large, even rectangle. Brush the surface generously with melted butter then sprinkle a mixture of cinnamon and sugar evenly over the top. Tightly roll the dough from the long side, creating a spiral of sweet cinnamon goodness. Slice the roll into one-inch thick rounds with a sharp knife or dental floss for clean cuts.
- Second Rise:
- Place the sliced buns on a parchment-lined baking sheet with some space for expansion. Cover loosely and allow them to rise for another thirty minutes until puffy and slightly risen.
- Bake to Golden Perfection:
- Preheat your oven to 350 degrees Fahrenheit (175 degrees Celsius). Bake the buns for 15 to 18 minutes or until they turn a beautiful golden brown.
- Glaze It Up:
- While the buns are still warm, whisk together honey, powdered sugar, and a splash of milk until smooth. Pour the glaze generously over each bun and let it set briefly for that sticky shiny finish.
 Save Pin
I have such fond memories making these with my grandmother where the kitchen smelled of cinnamon and honey and each step felt like a special ritual passing down love through baking.
Storage Tips
Store cooled honey buns in an airtight container at room temperature to keep them soft for up to three days. For longer storage, wrap each bun individually and freeze for up to two months. Reheat gently in the microwave or toaster oven to bring back that fresh-baked warmth.
Ingredient Substitutions
You can replace whole milk with any plant-based milk if needed, such as almond or oat milk, though it may change the richness slightly. Maple syrup or agave nectar work well as substitutes for honey in the glaze, adding a different but equally pleasant flavor. If you do not have a stand mixer, kneading by hand for about ten minutes yields great results, just be patient with the dough’s elasticity.
Serving Suggestions
Honey buns are fantastic served warm right out of the oven paired with coffee, milk, or a fruity tea for a lovely breakfast or snack. They also work well alongside a fresh fruit salad or simple yogurt to balance out the sweetness. Ideal for brunch gatherings, these treats are sure to impress friends and family alike.
Pro Tips
- Be sure not to overheat the milk as too much heat can kill the yeast and prevent the dough from rising properly
- Do not skip the second rise as it adds to the buns’ fluffy texture and tender crumb
- I learned the hard way that using dental floss to slice the rolls creates the cleanest cuts without squashing the dough
Commonly Asked Questions
- → How long do honey buns stay fresh?
They remain soft and fresh for up to 3 days stored in an airtight container at room temperature.
- → Can I prepare the dough ahead of time?
Yes, after the first rise, refrigerate the dough overnight to slow fermentation, then proceed the next day.
- → Is the glaze necessary?
The sticky honey glaze enhances sweetness and shine, but you can substitute with simple icing if preferred.
- → Can I knead the dough without a mixer?
Absolutely, kneading by hand for about 10 minutes until smooth and elastic works well.
- → What causes the dough not to rise properly?
Ensure the yeast is active and the milk is warm, not hot, as temperatures can affect yeast activity.
- → Are there alternatives to honey for the glaze?
Maple syrup or agave syrup can be used, offering slightly different but pleasant flavors.