
 Save Pin
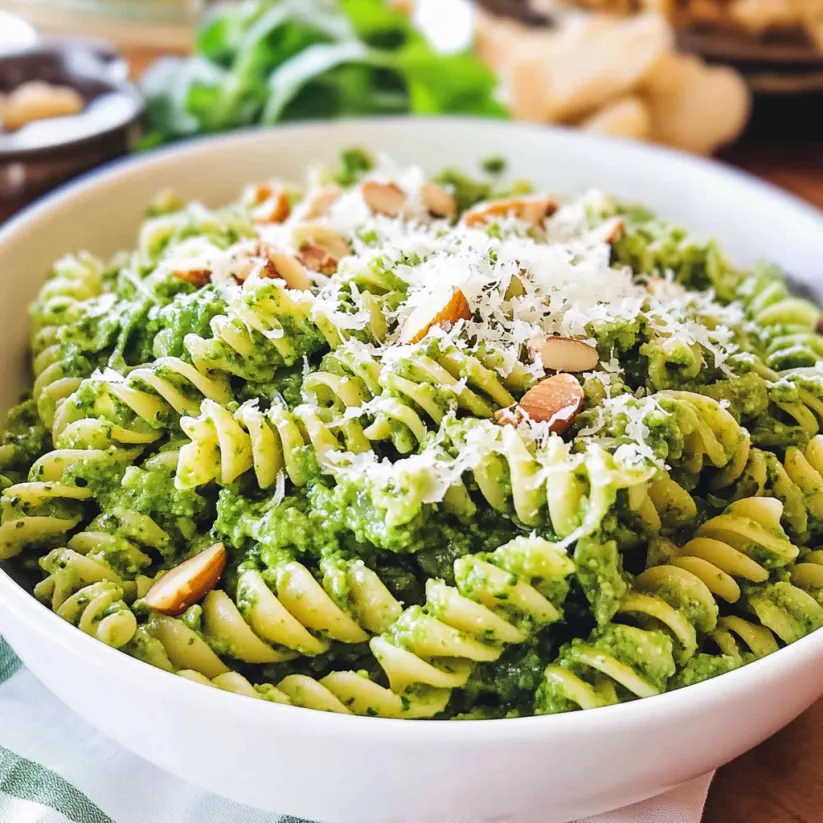
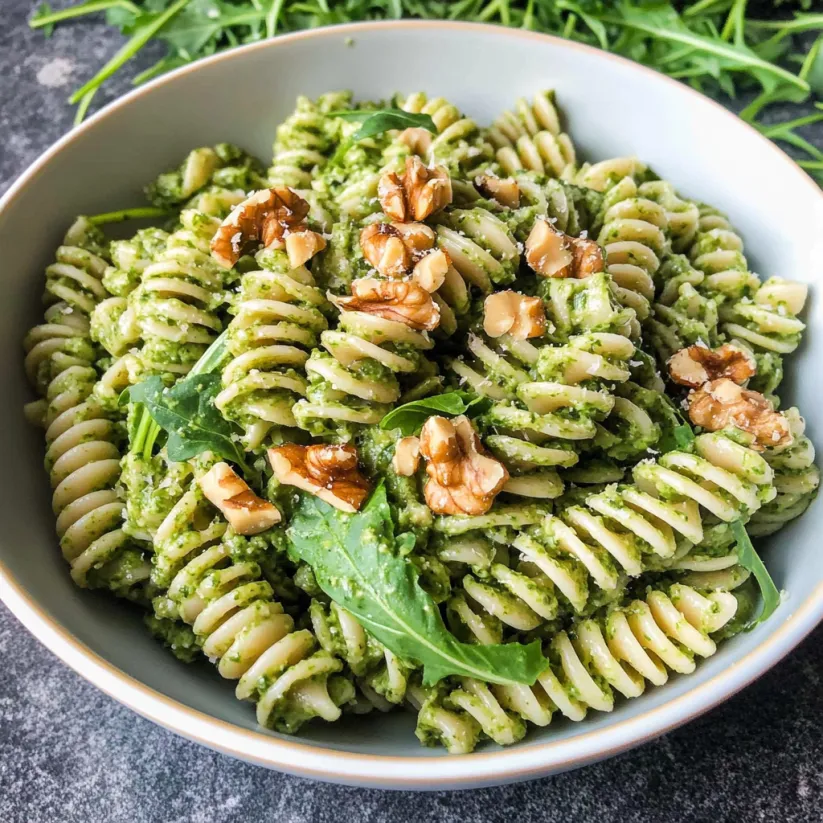
This arugula walnut pesto pasta transforms simple ingredients into a vibrant weeknight meal that's as nutritious as it is delicious. When I need a quick dinner that still feels special, this is my go-to recipe. The peppery arugula and toasty walnuts create a pesto that's uniquely satisfying without the traditional basil.
I first created this recipe during a busy work week when I had a surplus of arugula about to wilt in my refrigerator. What began as a kitchen rescue mission became a family favorite that my children now request weekly.
Ingredients
- 12 ounces dry pasta gemelli works beautifully as the spiral shape catches the pesto perfectly
- 4 cups packed arugula baby arugula offers a milder flavor ideal for those new to this peppery green
- ⅔ cup olive oil choose a good quality extra virgin for the best flavor profile
- 3 cloves garlic fresh cloves provide much better flavor than pre-minced varieties
- ½ cup walnuts toasting them briefly enhances their nutty depth
- ¾ cup grated Parmesan cheese freshly grated melts more smoothly than pre-packaged options
- ¼ teaspoon salt adjust according to the saltiness of your cheese
- ¼ teaspoon pepper freshly ground adds the best flavor
Step-by-Step Instructions
- Cook the Pasta
- Bring a large pot of generously salted water to a rolling boil. Add the pasta and cook according to package directions until al dente typically 8 to 10 minutes. Before draining be sure to reserve about a cup of the starchy pasta water this is crucial for adjusting the consistency of your pesto sauce later. Drain the pasta but do not rinse as the starch helps the pesto cling better.
- Blend the Pesto
- While the pasta cooks add the fresh arugula olive oil garlic peeled walnuts grated Parmesan and seasonings to your blender. Pulse several times then blend until smooth about 30 seconds. Stop occasionally to scrape down the sides to ensure everything incorporates evenly. The consistency should be smooth but with slight texture from the walnuts.
- Combine and Serve
- Return the drained pasta to its cooking pot. Pour the freshly made pesto over the hot pasta and toss thoroughly until every piece is coated. If the sauce seems too thick gradually add the reserved pasta water a tablespoon at a time until you reach your desired consistency. The starch in the water helps create a silky sauce that clings perfectly to the pasta. Serve immediately topped with additional grated Parmesan for a restaurant-quality presentation.
 Save Pin
The walnuts are truly the unsung hero of this recipe. While pine nuts are traditional in pesto they can be expensive and sometimes difficult to find. Walnuts not only provide a budget-friendly alternative but their slightly bitter complexity beautifully balances the peppery arugula. My grandmother who claimed to dislike both arugula and walnuts separately actually requested this recipe after trying it at our family dinner.
Customizing Your Pesto
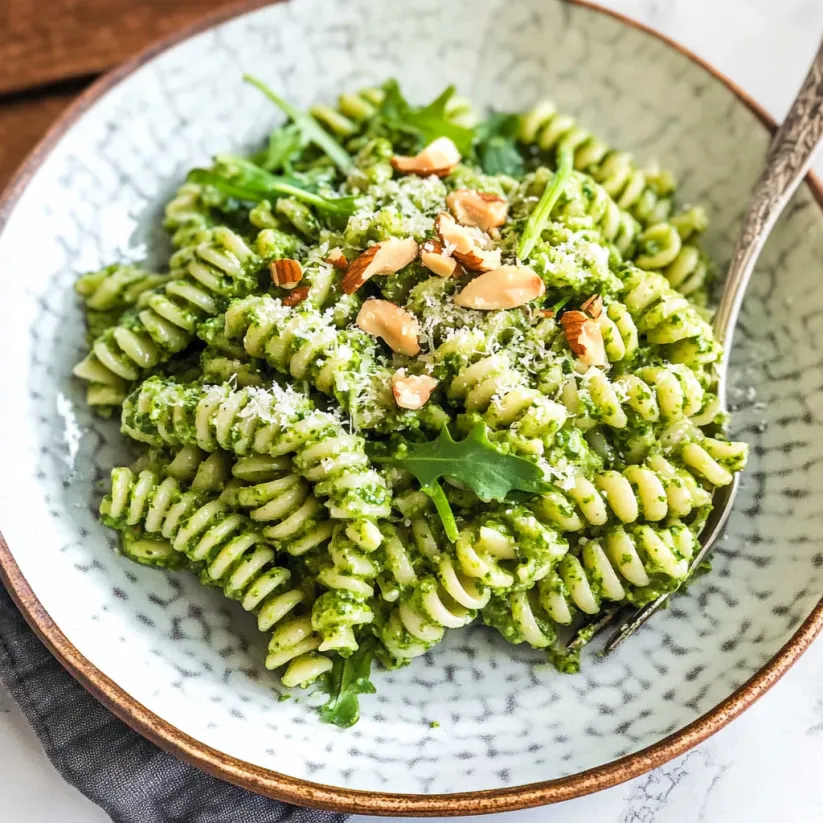
This versatile pesto welcomes creative adaptations based on what you have available. For a dairy-free version replace the Parmesan with nutritional yeast. The cheesy flavor profile remains intact while making the dish suitable for vegan diets. You can also experiment with different nuts almonds or pistachios offer interesting flavor variations while maintaining the essential texture. For extra brightness consider adding a squeeze of lemon juice which heightens all the flavors and helps preserve the vibrant green color longer.
Storing Your Creation
Proper storage ensures you can enjoy this delicious pesto well beyond your initial meal. When storing just the pesto transfer it to an airtight container and pour a thin layer of olive oil on top. This creates a seal that prevents oxidation keeping your pesto vibrant green for up to a week in the refrigerator. For longer storage freeze portions in ice cube trays then transfer the frozen cubes to freezer bags. This method creates perfect single-serving portions that thaw quickly when needed. The completed pasta dish can be refrigerated for 3 to 4 days though the pasta may absorb more of the sauce making it slightly drier when reheated.
Perfect Pairings
This bright pasta dish pairs beautifully with complementary foods that enhance the meal without overwhelming the delicate flavors. Serve alongside a simple protein like grilled chicken or seared scallops for a complete dinner. A light side salad with a lemon vinaigrette provides refreshing contrast while roasted cherry tomatoes add bursts of sweetness that balance the peppery arugula perfectly. For wine enthusiasts a crisp Sauvignon Blanc or Pinot Grigio complements the herbaceous quality of the pesto without competing with its nuanced flavors.
 Save Pin
Commonly Asked Questions
- → Can I substitute other nuts for walnuts in this pasta?
Yes! While walnuts provide a distinctive earthy flavor, you can substitute pine nuts, almonds, or even pistachios for a different flavor profile. Just make sure to toast them lightly before blending for maximum flavor.
- → Is there a way to make this dish dairy-free?
Absolutely. Skip the Parmesan and add 2-3 tablespoons of nutritional yeast for a cheesy flavor, plus a little extra salt to compensate. You might also increase the walnuts slightly for added richness.
- → Why is my pesto turning brown?
Arugula, like basil, can oxidize when exposed to air. To prevent browning, add a thin layer of olive oil on top when storing, or press plastic wrap directly onto the surface of the pesto in the container.
- → What pasta shapes work best with this sauce?
Shapes that trap sauce work wonderfully - gemelli (as used in the original), fusilli, rotini, or orecchiette are all excellent choices. However, any pasta will work depending on your preference.
- → How can I make this dish more filling?
Add protein by including grilled chicken, shrimp, or white beans. For more vegetables, toss in halved cherry tomatoes, sautéed zucchini, or roasted bell peppers when combining the pasta with the pesto.
- → Can I make the pesto ahead of time?
Yes! The pesto can be made up to 5-7 days ahead and stored in the refrigerator. For longer storage, freeze in ice cube trays as mentioned in the recipe notes, then transfer to freezer bags for up to 3 months.