
 Save Pin
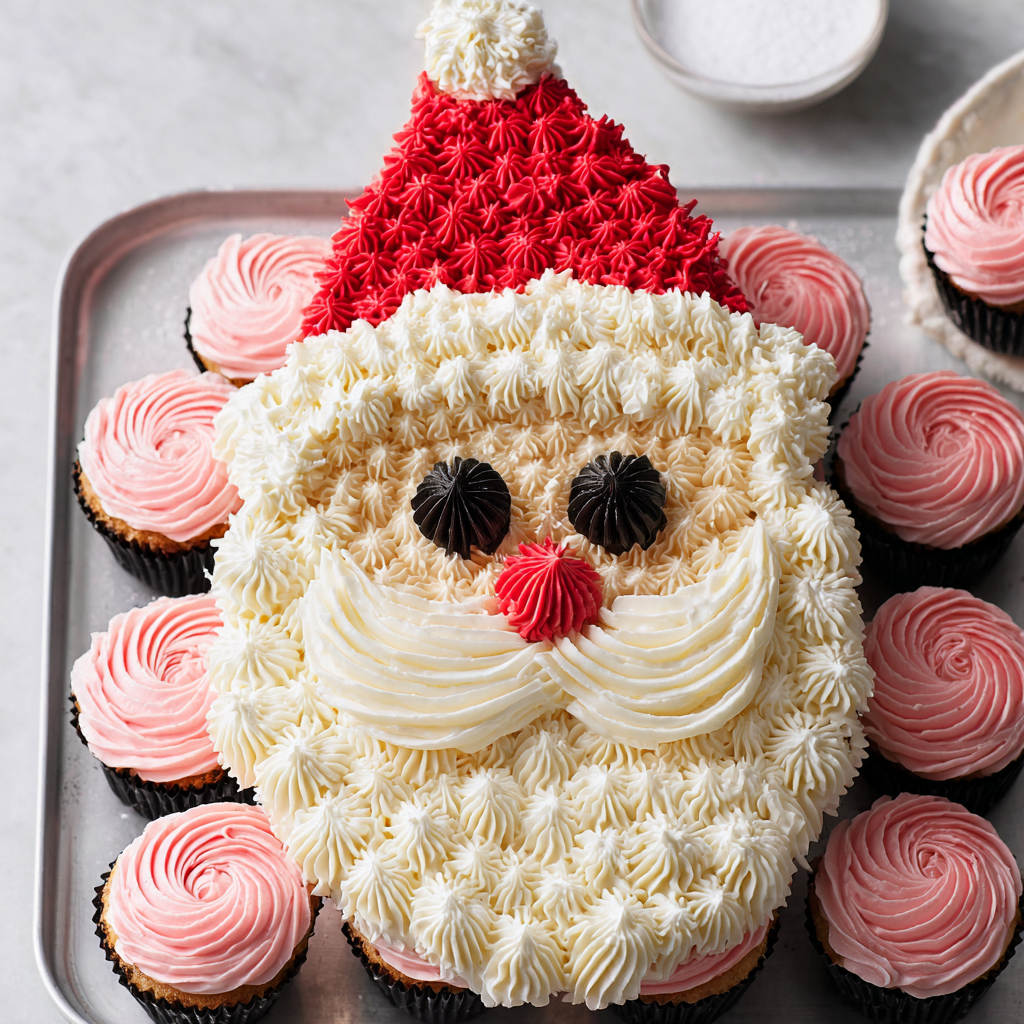
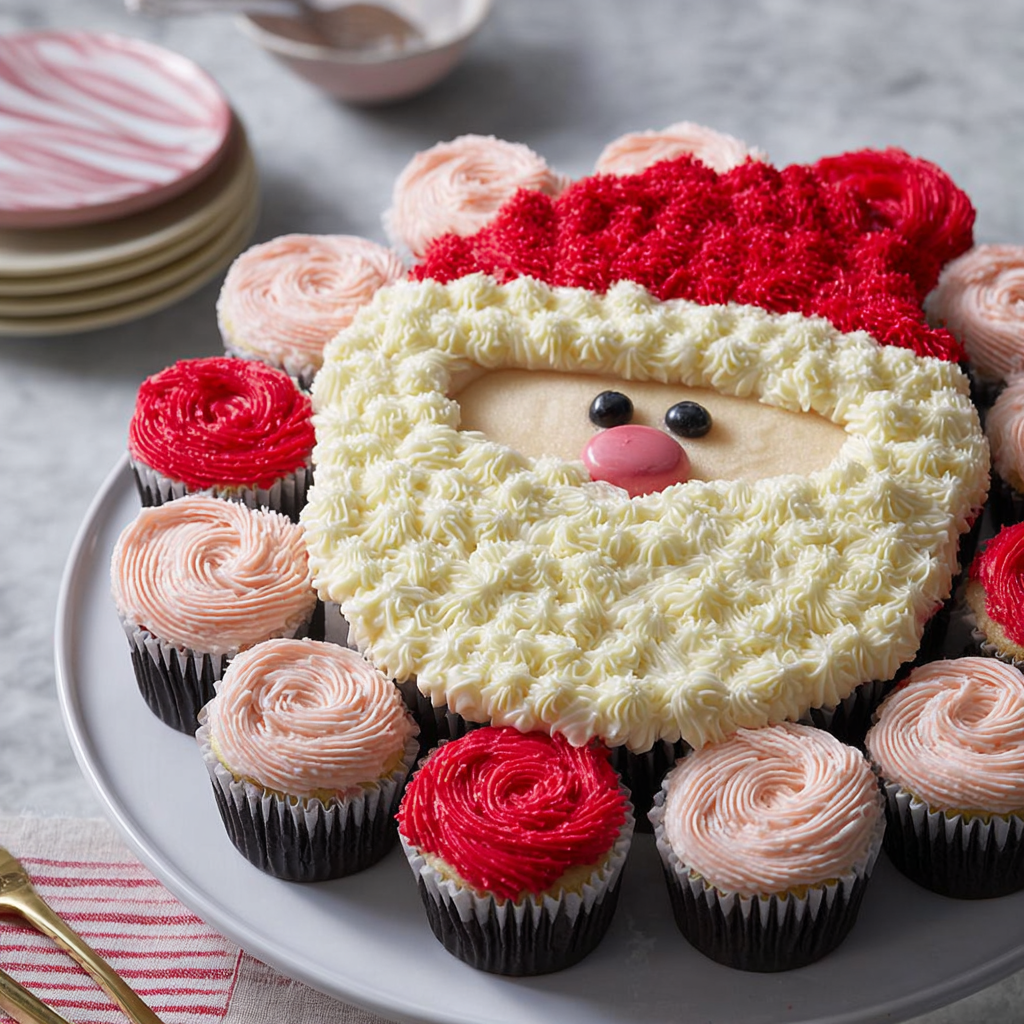
This pull-apart Santa cake is the perfect festive centerpiece that combines fun assembly with impressive presentation. Using simple boxed cake mix keeps the prep easy while allowing you to focus on creating a whimsical Santa figure that is sure to delight guests of all ages. It’s a crowd-pleaser that brings the holiday spirit to any party or family gathering.
I first made this recipe during a holiday gathering when I needed a quick but memorable dessert. Ever since, it has become a tradition because everyone loves to grab a cupcake and marvel at the cute Santa design.
Ingredients
- Cooking spray: greasing muffin tins to ensure cupcakes release easily
- Two 15.25-ounce boxes of vanilla cake mix: including required ingredients for reliable moist cupcakes
- Four 16-ounce cans of store-bought vanilla frosting: divided for different parts of Santa’s face and hat
- Red food gel coloring: for vibrant bright red frosting—gel works best to avoid thinning the frosting
- Brown food coloring: optional for customizing skin tone, providing a more personalized look
- One Oreo cookie: split into wafer halves for Santa’s eyes, adding texture and playful detail
- Three mini candy canes: to create Santa’s iconic glasses, enhancing the overall design
- Two piping bags with a large star tip: for detailed frosting work and smooth application
Step-by-Step Instructions
- Sauté the Prep:
- Grease four 12-cup muffin tins using cooking spray and line them with liners for easy cupcake removal. Follow the box instructions to mix the vanilla cake batter, then evenly distribute it among the cups.
- Bake and Cool:
- Place your tins in the oven and bake according to the box directions. Once done, allow the cupcakes to cool slightly before refrigerating for about 30 minutes until cold, which helps the frosting hold better later.
- Color Your Frosting:
- In a small bowl, mix three cups of white frosting with one to two drops of red food gel, adjusting to get a bright red shade needed for Santa’s hat and details. In a second bowl, gently tint half a cup of white frosting with red and optionally brown food coloring to reach the desired skin tone. Transfer the bright red frosting to a piping bag with a star tip and the rest of the white frosting into another piping bag.
- Assemble the Cake Base:
- Lay out the cupcakes on a large platter in rows: start with three cupcakes at the top, then rows of 2, 3, 4, 5, two rows of 6, then 5, 8, and finish with 6 at the bottom. Curve the bottom rows to shape Santa’s beard and angle the top to make a floppy hat effect.
- Frost the Face and Beard:
- Use an offset spatula to spread the skin-tone frosting on the center cupcakes of the fifth, sixth, and seventh rows. Pipe white frosting roses on the cupcakes below and on both sides of the face to create the beard texture. Fill in the gaps with small swirls to make it look full and fluffy. Create the hat brim by piping a single squiggly line of white frosting, finishing the hat tip with a swirl.
- Add Facial Details:
- Attach the Oreo wafer eyes by pressing a frosting dollop underneath each half. Pipe eyebrows and a mustache with white frosting. Dab a small red frosting dot above the mustache for the nose.
- Finish the Hat:
- Switch the star tip back to red frosting and pipe red roses on any cupcakes left unfrosted in the hat area to complete the vibrant look.
- Add Santa’s Glasses:
- Break the curved part off two candy canes. Position the straight piece horizontally between the eyes as the bridge, and place the curved candy canes on the Oreos for the glasses' sides.
 Save Pin
One Christmas, my niece was so excited to see Santa’s candy cane glasses she insisted on holding the cake before serving!
Storage Tips
Keep undecorated cupcakes in an airtight container at room temp to maintain softness. Cool but unfrosted cupcakes freeze well so you can prep ahead of time without worry. For decorated cakes, refrigeration is key to keeping frosting firm. Bring cupcakes back to room temperature before serving for the best flavor.
Ingredient Substitutions
If vanilla cake mix is not available use homemade vanilla cupcake batter or even a yellow cake mix for a similar base. Cream cheese frosting can substitute vanilla frosting for a tangier touch but reduce extra coloring because cream cheese tends to dull bright colors. You can swap Oreos with chocolate wafer cookies for a slightly different look.
Serving Suggestions
Serve alongside hot cocoa or mulled cider for the ultimate festive experience. Consider passing around cupcake liners with small picks or flags to keep the pull-apart fun hygienic and easy for guests. This cake also pairs well with fresh fruit platters or peppermint bark to keep with the holiday theme.
Cultural and Historical Context
Pull-apart cakes have roots in European "monkey bread," where sweet dough balls are baked together and pulled apart piece by piece. This dessert adds a modern festive twist with cupcakes arranged to resemble Santa Claus. It’s a playful way to merge classic baking traditions with contemporary holiday fun.
Pro Tips
- Always cool cupcakes completely before frosting to avoid melting or sliding icing.
- Use gel food coloring instead of liquid for more vibrant hues without altering frosting texture.
- Don’t skip laying out your cupcake design on a platter before frosting to make sure the shape works perfectly.
Commonly Asked Questions
- → What type of cake mix works best for this dessert?
Vanilla box cake mix provides a neutral base that highlights the festive decorations without overpowering the flavors.
- → Can the cupcakes be prepared in advance?
Yes, baked cupcakes store well at room temperature for 4 days, can be frozen for up to 3 months, and decorated cupcakes keep refrigerated up to 3 days.
- → How do I achieve the different frosting colors?
Mix red food gel coloring into portions of vanilla frosting to make vibrant red and pale pink hues; brown coloring can adjust skin tone as desired.
- → What decorations mimic Santa’s facial features?
Oreo wafer halves act as eyes, candy canes form glasses, and frosting piped into swirls shapes the beard, hat brim, and facial accents like nose and mustache.
- → How should the cupcakes be arranged to form Santa?
Arrange rows of cupcakes in a half-moon shape for the beard and stacked layers above for the hat and face for a clear Santa silhouette.