
 Save Pin
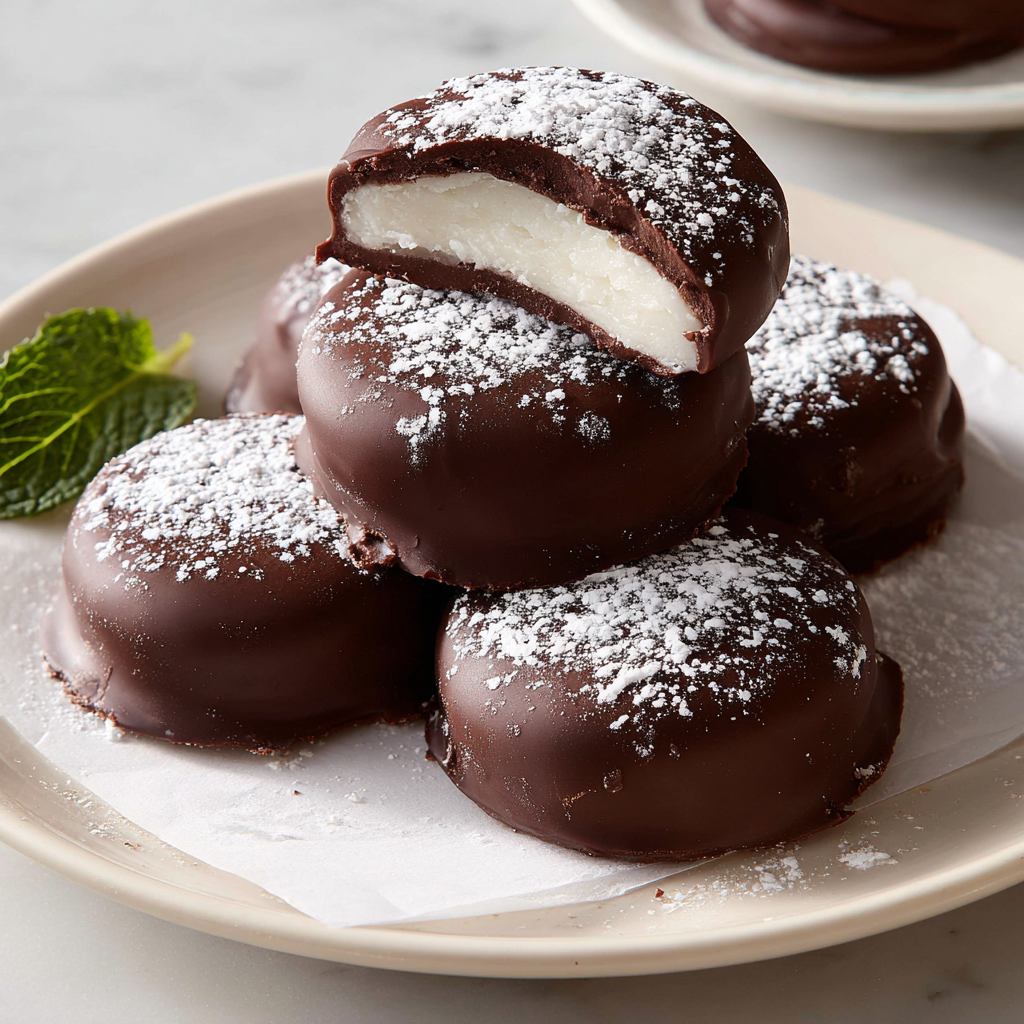
Peppermint patties have drawn me to my happy place time and time again. These minty treats remind me of childhood memories when my mom would take me and my brother to the store and surprise us with candy like peppermint patties. The cool, refreshing flavor combined with rich chocolate has always been a comfort and a celebration in one bite. Making them at home is surprisingly simple, and they quickly became favorites for holidays and anytime a sweet, minty pick-me-up is needed.
I first made these patties one winter afternoon, and since then, they have become a staple in my holiday treat rotation. The first batch disappeared faster than I expected.
Ingredients
- Powdered sugar: six cups plus extra for dusting to give the patties their classic sweetness and firm yet soft texture
- Condensed milk: one fourteen-ounce can to bind the dough and add creaminess without needing butter
- Peppermint extract: one tablespoon for that unmistakable mint flavor, good quality extract makes a difference
- Finely chopped fresh mint: optional two teaspoons for a subtle fresh note that lifts the candy
- Bittersweet chocolate chips: one pound to coat the patties and provide rich bittersweet contrast to the sweet mint filling, choose good quality chips for melt and flavor
Step-by-Step Instructions
- Scoop the dough:
- Line a baking sheet with parchment paper and dust it generously with powdered sugar. In a large bowl attached to a stand mixer with the whisk attachment, combine powdered sugar, condensed milk, peppermint extract, and chopped fresh mint if using. Beat on medium-high until a smooth dough forms. This can take some time so be patient about mixing to get the right consistency.
- Form and chill the patties:
- Portion out about one ounce of dough each, roughly two tablespoons, and arrange them spaced out on the prepared pan. Flatten each ball gently into a small disk; they will spread a little while chilling. Place the tray in the freezer for about one hour until the patties are firm and chilled enough to handle.
- Melt the chocolate:
- While the patties chill, melt the bittersweet chocolate chips using a double boiler or microwave in short bursts, stirring frequently until smooth and glossy. Avoid overheating to keep the chocolate silky and easy to coat with.
- Dip and set the patties:
- Line another baking sheet with parchment paper. Remove the patties from the freezer and dip each one into the melted chocolate, coating thoroughly. Use a fork or dipping tool to lift and gently shake off excess chocolate before arranging them on the parchment-lined tray. Freeze again for about ten minutes or until the chocolate has set completely.
 Save Pin
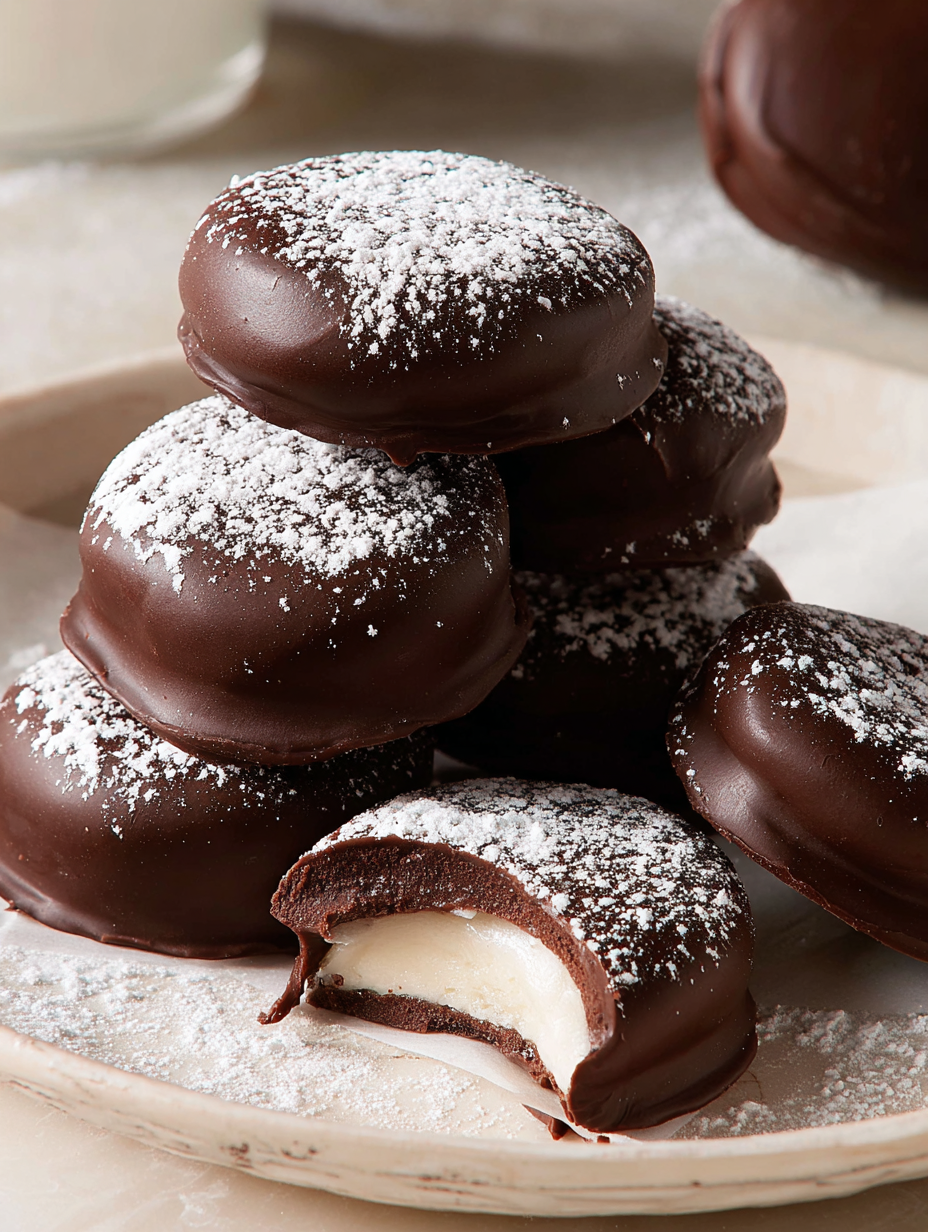
My favorite part about these patties is how the creamy filling contrasts with the bittersweet chocolate shell. Once, during a family gathering, my brother and I ended up in a playful debate over who loved the mint patties more. It’s still a highlight memory every time we pull them out.
Storage Tips
Keep peppermint patties in an airtight container in the fridge for up to two weeks if you plan to eat them soon. For longer storage, freeze them wrapped in plastic and placed in a sealed bag or container. Frozen patties make a refreshing treat straight from the freezer and are perfect for unexpected guests or late-night cravings. Avoid leaving them out at room temperature too long or the patties will soften and the chocolate might bloom.
Ingredient Substitutions
Condensed milk is essential for this recipe’s texture but if unavailable opt for a mixture of heavy cream and powdered sugar slowly combined to a dough-like consistency, noting the final texture might differ. For the peppermint extract, pure essential oil can work but use very sparingly as it is more concentrated. Chocolate coating can be swapped with semisweet or dark chocolate if you prefer a sweeter or more intense chocolate flavor. White chocolate is also an option but the contrast with peppermint changes.
Serving Suggestions
Serve these mint patties chilled or directly from the freezer for a refreshing bite especially after rich meals. They pair beautifully with a hot cup of coffee or a rich dark hot chocolate. These also make wonderful edible gifts when packaged in festive boxes or tins lined with wax paper. Try sprinkling a little crushed candy cane or edible glitter on the chocolate before it sets for a holiday touch.
Cultural and Historical Context
Peppermint patties were first created in 1940 in York Pennsylvania by Henry Kessler who perfected the signature snap of the candy. They became iconic as part of the Hershey product line and found their way into pop culture including the Peanuts comics. The classic combination of cool mint flavor and firm chocolate shell has made peppermint patties a beloved candy that continues to evoke nostalgia and warmth.
Pro Tips
- Use a stand mixer to get the dough perfectly smooth and avoid the temptation to under-mix since the texture depends on thorough blending
- Chill the patties well before dipping to prevent them from melting into the chocolate and losing their shape
- Warm the chocolate slowly and keep it at dipping temperature but not hot to achieve a smooth coating without seizing or burning
Commonly Asked Questions
- → What gives peppermint patties their signature snap?
Chilling the dough well before dipping it in melted chocolate ensures a firm texture, contributing to the satisfying snap when bitten.
- → Can I use fresh mint in the filling?
Yes, finely chopped fresh mint adds a subtle herbal note that complements the peppermint extract, enhancing the overall flavor.
- → How should I store these mint patties for best freshness?
Keep them in an airtight container in the freezer for up to 4 to 6 months, or refrigerate for a couple of weeks to maintain texture and flavor.
- → What type of chocolate works best for coating?
Bittersweet or dark chocolate chips are preferred to balance the sweet, minty center and provide a rich, smooth coating.
- → Is it necessary to use a stand mixer for the dough?
Using a stand mixer helps combine powdered sugar and condensed milk thoroughly, creating a smooth dough that’s difficult to achieve by hand.
- → Why does the dough seem dry at first?
The dough may appear dry initially, but continued mixing ensures it comes together into a tacky, firm consistency ideal for shaping.