
 Save Pin
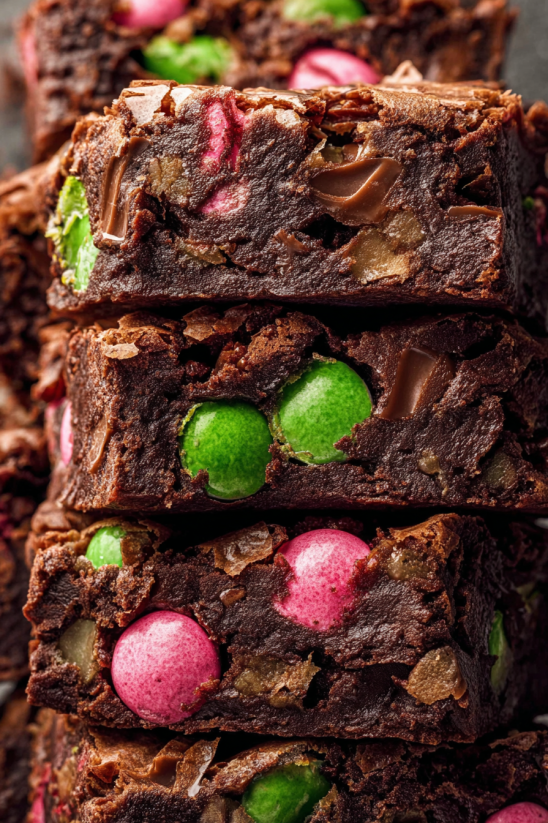
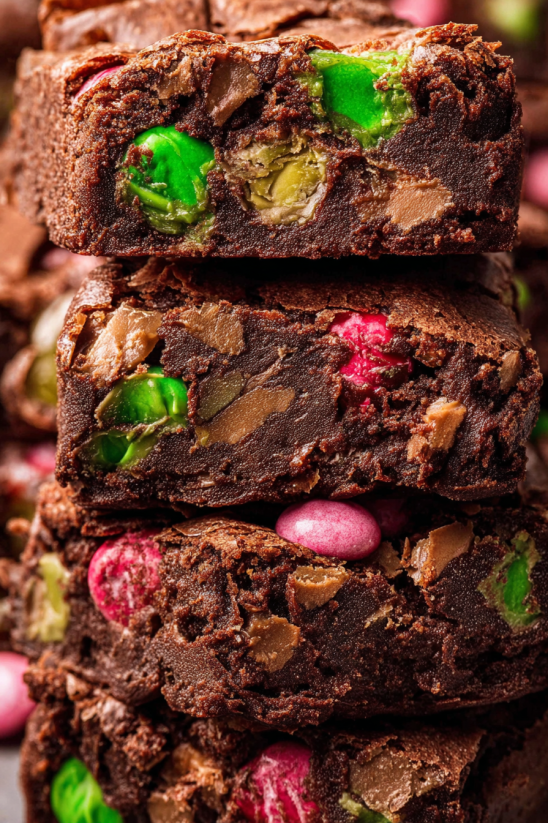
No-Bake Stained Glass Cookies are the ultimate festive treat I look forward to every holiday season. Combining colorful mini marshmallows, chewy dried cherries, crispy rice cereal, and a lush chocolate coating, these cookies create the prettiest bite-sized treats without ever turning on the oven. Slicing into the log reveals playful “windows” of color that light up any cookie platter, and the best part is how easy they are to whip up.
The very first time I made these, my children could not stop peeking into the fridge to see if the chocolate had hardened enough to slice. They were mesmerized by those little stained glass pieces peeking out and now beg to make them every December.
Ingredients
- Chocolate melting wafers: create the glossy coating and hold the “windows” together. Look for high-quality melting wafers for easier workability
- Mini colored marshmallows: transform into the “stained glass” pieces. Soft and fluffy is key so check for bags that feel pillowy and not dry
- Dried cherries: bring brightness and tang with a chewy bite. Choose plump, vibrant cherries from a fresh package
- Rice crispies: offer a satisfying crunch and help balance the sweetness. Be sure the cereal is crisp with no staleness for the best texture
Step-by-Step Instructions
- Prep the Mixing Bowl and Surface:
- Spray a roomy mixing bowl with non-stick spray so your mixture does not cling. Lay out a long sheet of wax or parchment paper on a sturdy surface or baking sheet to prep for rolling
- Combine the Mix-ins:
- In your greased bowl add marshmallows, dried cherries, and rice crispies. Use a big spoon to gently toss everything together until the pieces are evenly mixed
- Melt the Chocolate:
- Place chocolate melting wafers in a microwave-safe bowl. Microwave for 1 minute and then stir until most of the wafers are smooth. If needed microwave again for short bursts stirring between until the chocolate is fluid and lump-free. Take care not to overheat so you keep a shiny finish
- Coat the Mixture and Shape the Log:
- Pour in half the melted chocolate over the marshmallow mixture and stir quickly to coat. Pour the rest in and stir again, working fast so the chocolate does not set before it is evenly mixed. Scrape the chocolatey mix out onto your prepared wax paper aiming for a long log shape. Fold the wax paper around it and roll into a tight log then twist the ends closed. Gently press to smooth out bumps for that classic cylindrical look
- Cool the Mixture:
- Let the log sit at room temperature to firm up or speed it up by placing it in the fridge for one hour. Do not attempt to cut until the chocolate is solid all the way through
- Slice and Serve:
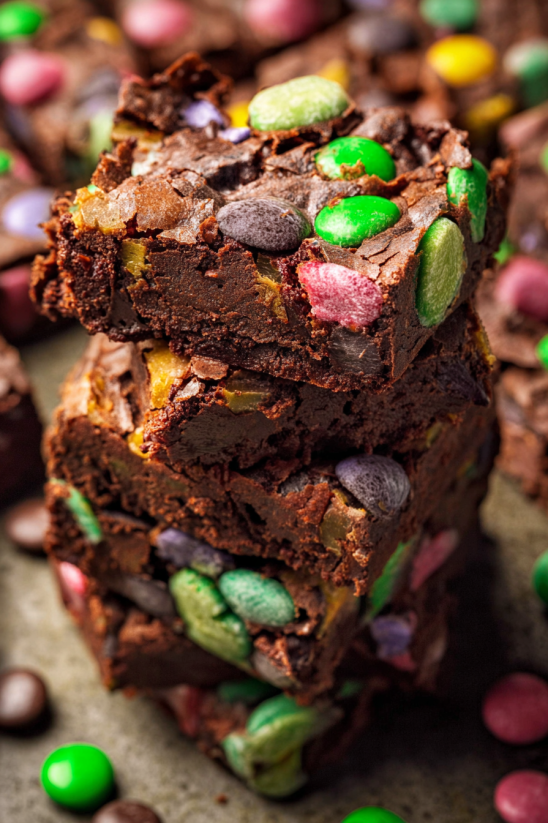
- Once chilled and firm unroll and slice into thick coins about one third inch thick. Arrange on a tray or platter and get ready for the compliments
 Save Pin
My favorite part is seeing the cross-section of each slice. Every cookie is a surprise with different “windows” of color and patterns. Making these together as a family is now one of our cherished Christmas rituals and there is always a little excitement about who will get the prettiest piece.
Storage Tips
Store the whole log unsliced in an airtight container for the freshest texture and best slices. If you have already sliced them layer parchment or wax paper between cookies in a sealed container to keep them from sticking. These cookies are sturdy enough to pack for gifts and stay moist for up to ten days.
Ingredient Substitutions
Try swapping dried cranberries or chopped dried apricots for the cherries to change up the flavors or cater to allergies. If you love nuts pistachios or pecans add lovely extra crunch and festive color. You can leave out the fruit and rice crispies for an all-chocolate-marshmallow version and still have gorgeous results.
Serving Suggestions
Pile these cookies high on a cake stand or tiered holiday tray for a pretty centerpiece. They make sweet gifts bundled in clear bags or as a colorful addition to a cookie exchange box. For a fun kid-friendly dessert plate arrange the slices in a circle like a “wreath” and toss a few extra marshmallows in the center.
 Save Pin
Cultural and Historical Context
No-bake stained glass cookies are also known as cathedral windows or church window cookies and have roots in American mid-century holiday traditions. The playful resemblance to stained glass church windows made them especially popular with families during the festive season. Many cooks have their own traditions for mix-ins and methods but the basic recipe remains a nostalgic favorite for generations.
Commonly Asked Questions
- → What kind of chocolate works best?
Chocolate melting wafers create a smooth, shiny finish, but you can also use semi-sweet chocolate chips if that's what you have on hand.
- → Can I use different dried fruits?
Yes, dried cranberries or finely chopped apricots work well. Be sure to chop larger fruits to the size of mini marshmallows for the best mix.
- → Do I need to refrigerate before slicing?
Chilling the log for at least an hour ensures the chocolate sets firmly, making cleaner slices possible and easier serving.
- → How do I prevent the mixture from sticking?
Spray your mixing bowl with non-stick spray before adding the ingredients, and use parchment or wax paper to shape and roll the log.
- → Can I add nuts to the mix?
Absolutely! Chopped pistachios, almonds, or pecans add extra crunch and flavor, and make a colorful addition to the cookies.
- → How should these be stored for freshness?
Store the unsliced log or sliced cookies in an airtight container at room temperature for up to a week, layering with parchment if needed.