
 Save Pin
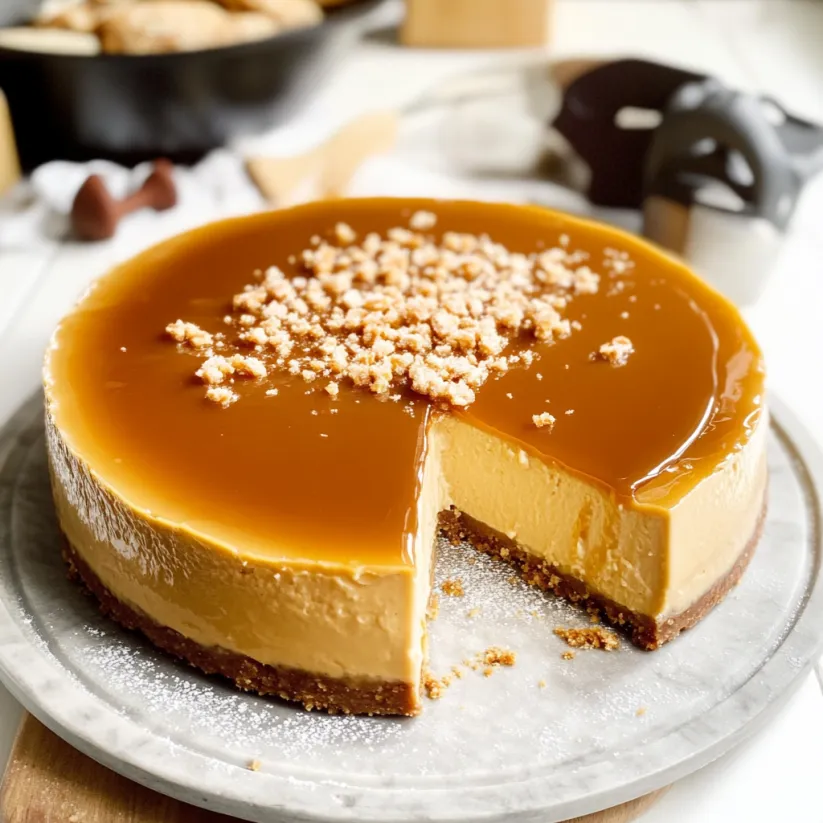
This creamy caramel cheesecake combines the richness of classic cheesecake with the sweet complexity of homemade salted caramel for a dessert that never fails to impress. The buttery cookie crust provides the perfect foundation for the velvety smooth filling, while the generous caramel topping takes it to another level of indulgence.
I first made this caramel cheesecake for my sister's birthday dinner and the entire family fell silent upon taking their first bites. Now it has become our most requested celebration dessert, especially during fall gatherings.
Ingredients
- Full fat cream cheese Room temperature cream cheese is essential for that silky smooth texture without lumps
- Granulated sugar Provides the perfect level of sweetness while helping create structure
- Homemade salted caramel The star ingredient that infuses rich flavor throughout the filling and topping
- Sour cream Adds tanginess that balances the sweetness and creates a velvety texture
- Cornstarch A small amount helps prevent cracking without altering the flavor
- Vanilla extract Enhances all the other flavors with its warm aromatic notes
- Eggs Creates the perfect custard like texture and richness
- Digestive or graham crackers The crunchy base that contrasts beautifully with the creamy filling
- Butter Binds the crust together and adds richness
Step-by-Step Instructions
- Prepare the salted caramel
- Begin by combining sugar and water in a large saucepan over medium high heat. Allow the mixture to melt undisturbed until it starts showing golden edges, then occasionally stir to ensure even caramelization. Watch carefully as it transforms from clear to amber brown this is where all that deep flavor develops.
- Create the perfect crust
- Process cookies and sugar until they reach a fine, sandy texture. Add melted butter and blend until the mixture resembles wet sand. Press firmly into the springform pan, creating an even layer on the bottom and about an inch up the sides. The pre baking step for 10 minutes is crucial for a crust that holds together when sliced.
- Mix the cheesecake filling
- Start by beating room temperature cream cheese until completely smooth. This initial beating removes any lumps before adding other ingredients. Incorporate sugar and caramel at low speed, maintaining that gentle mixing approach throughout. Adding eggs last and mixing minimally prevents incorporating excess air that can cause cracks.
- Master the water bath baking
- Place your carefully wrapped springform pan in a larger pan and add hot water halfway up the sides. This gentle, humid heat ensures the cheesecake bakes evenly without drying out or cracking. The slow cooling process in the partially opened oven is equally important for perfect texture.
 Save Pin
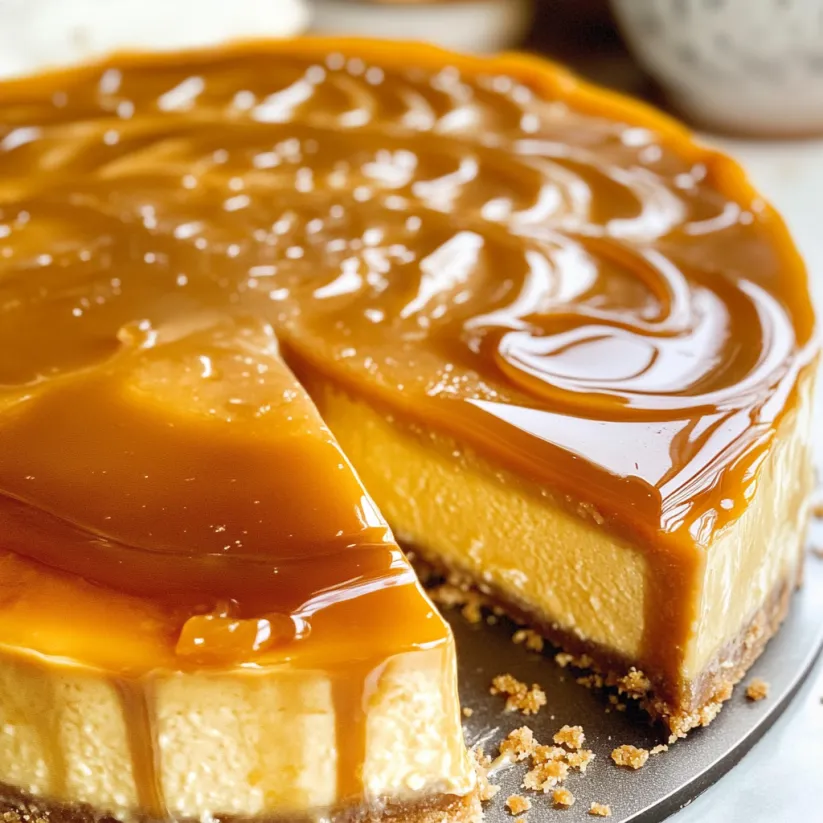
The homemade caramel is what truly elevates this cheesecake. I once tried taking a shortcut with store bought caramel sauce, and while still delicious, it lacked that deep, complex flavor that comes from carefully browning the sugar yourself. My father in law, who claims to dislike cheesecake, has been known to request second slices of this particular version.
Mastering the Caramel
Caramel can intimidate even experienced bakers, but success comes down to patience and attention. Use a light colored pan so you can clearly see the color changing. The transition from golden to burnt happens quickly, so have your butter and cream measured and ready before you start. If your caramel seizes when adding cream, simply return it to low heat and stir gently until smooth again.
Make-Ahead and Storage
This cheesecake actually improves with a day of rest in the refrigerator, allowing flavors to meld perfectly. It will keep for up to 5 days refrigerated in an airtight container. For longer storage, you can freeze individual slices wrapped in plastic wrap and then aluminum foil for up to 2 months. Thaw overnight in the refrigerator before serving for best texture.
Serving Suggestions
For an extra special presentation, warm additional caramel sauce slightly and drizzle over each slice just before serving. A light sprinkle of flaky sea salt creates a beautiful contrast to the sweetness. This cheesecake pairs wonderfully with a scoop of vanilla bean ice cream or a dollop of lightly sweetened whipped cream. For beverages, consider serving with coffee, espresso, or a glass of tawny port for a truly indulgent experience.
Troubleshooting Tips
If your cheesecake develops cracks despite the water bath, dont worry the caramel topping will conceal them beautifully
For clean slices, dip your knife in hot water and wipe clean between cuts
If your caramel hardens too much in the refrigerator, let it sit at room temperature for 15 minutes before attempting to spread it
Watch the baking time carefully as overbaking can lead to a dry, cracked top
 Save Pin
Commonly Asked Questions
- → Can I use store-bought caramel sauce instead of making it from scratch?
Yes, you can substitute store-bought caramel sauce for the homemade version. However, homemade caramel offers a fresher flavor and allows you to control the level of saltiness. If using store-bought, choose a high-quality sauce for the best results.
- → Why is a water bath necessary when baking this cheesecake?
The water bath creates gentle, even heat around the cheesecake, preventing cracks and ensuring a silky-smooth texture. It's essential for achieving that professional-quality result with the perfect creamy consistency.
- → How do I prevent water from leaking into my cheesecake crust?
The recipe offers two methods: either place your springform pan inside a slightly larger cake pan before putting it in the water bath, or wrap the springform pan in multiple layers of heavy-duty aluminum foil, ensuring it comes up high enough around the sides.
- → Can this cheesecake be made ahead of time?
Yes, this cheesecake is actually best made a day ahead. It needs at least 6 hours to set properly in the refrigerator, but overnight chilling yields the best flavor and texture. Add the caramel topping just before serving for the most attractive presentation.
- → What's the best way to slice this cheesecake cleanly?
For clean slices, dip a sharp knife in hot water before each cut, then wipe the blade clean. The heat helps the knife glide through the dense filling without dragging or creating crumbs, giving you picture-perfect slices.
- → Can I freeze this caramel cheesecake?
Yes, you can freeze the cheesecake (without the caramel topping) for up to 2 months. Wrap it tightly in plastic wrap and then aluminum foil. Thaw overnight in the refrigerator and add the caramel topping just before serving.