
 Save Pin
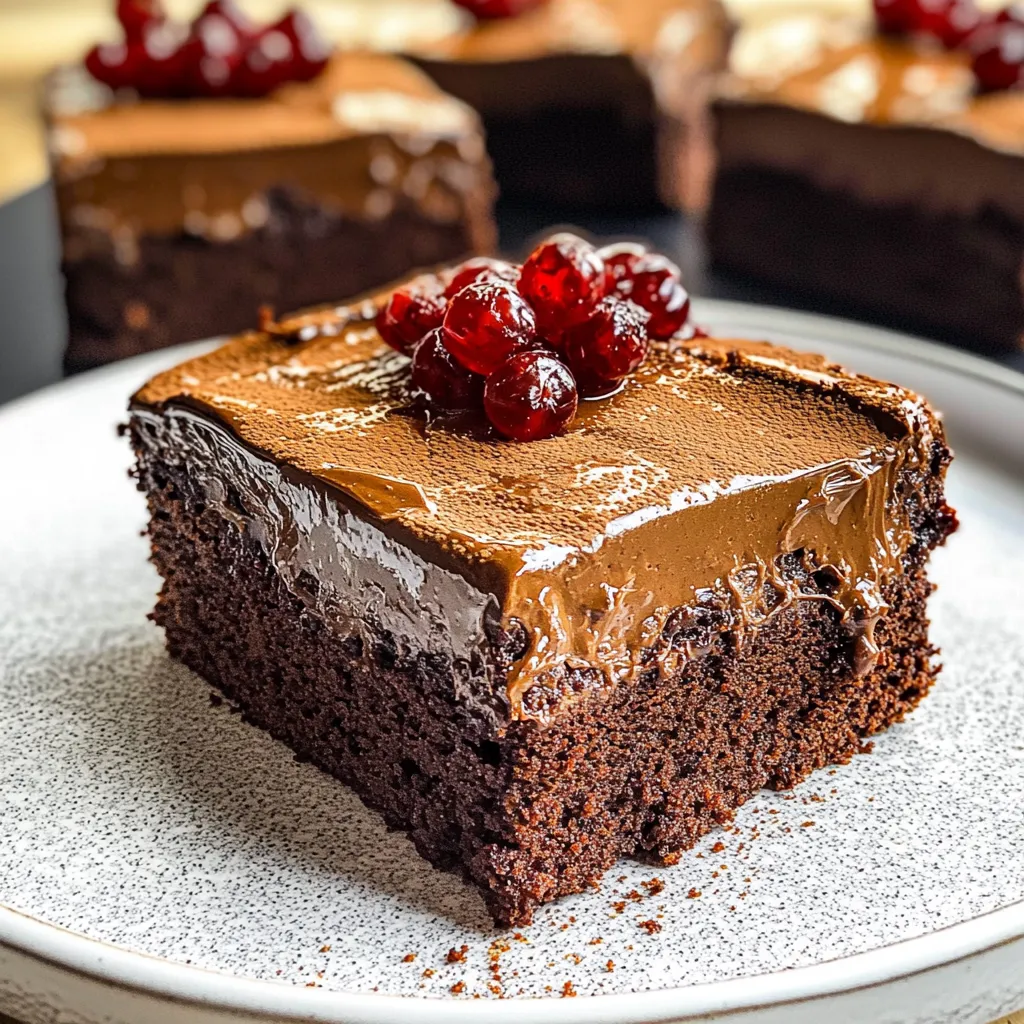
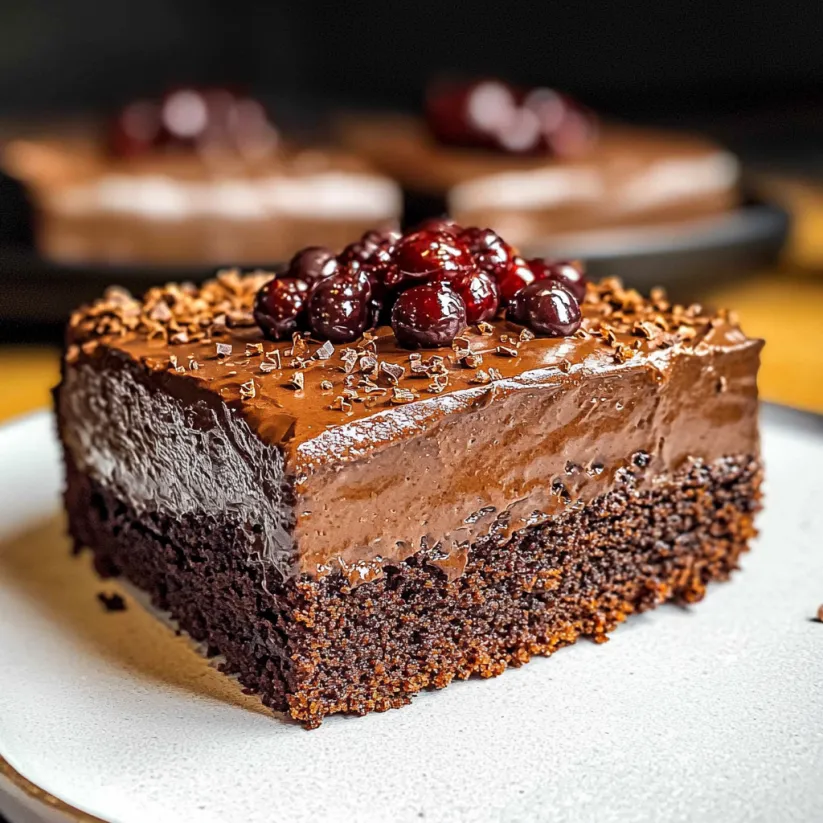
This Chocolate Magic Cake is a wonderfully simple dessert that creates its own three decadent layers from just one easy batter. Every bite delivers a fudge-like base, creamy custard middle, and soft sponge topping right from a single pan. Chocolate magic cake is a classic in Romanian kitchens and always surprises guests when they see the layers reveal themselves at the first slice.
I remember making this cake for a birthday when I barely had time to fuss. Everyone was convinced I had spent hours layering it. It became an instant favorite at our table especially with a swirl of whipped cream.
Ingredients
- Large eggs at room temperature: Using eggs at room temperature helps them whip up fluffy which is key for the tall layers
- Sugar: Provides sweetness and helps with the structure of each cake layer Use fine granulated sugar for the smoothest batter
- Unsalted butter, melted: Gives the cake a rich texture and flavor Always check your butter for freshness by smelling for any off scent
- Vanilla extract: Enhances the aroma and deepens the chocolate flavor Choose pure vanilla for the best taste
- Salt: Balances out the sweetness and brings out the chocolate notes Go for fine sea salt if you have it
- All-purpose flour: The foundation of the cake’s body Sift it for the smoothest result and check the expiration for best freshness
- Cocoa powder: Delivers that intense chocolate flavor Use natural cocoa powder for deep color and flavor Dutch process will make the cake darker
- Milk: Warmed milk helps keep the melted butter from seizing and allows a silky batter Use whole milk for the richest result
- White vinegar: Helps the egg whites whip up stiff and stabilize the top layer Use plain white vinegar not flavored varieties
Step-by-Step Instructions
- Prep the pan:
- Preheat your oven to 325 degrees F Get out an 8 by 8 inch pan and line it with parchment paper folding it up the sides for easy removal later
- Beat the egg yolks:
- Separate the eggs and beat the yolks with a tablespoon of water and all the sugar Use high speed until the yolks turn pale yellow and creamy This sets the base for a light crumb
- Incorporate melted butter and vanilla:
- Add in the melted butter vanilla extract and salt to the yolk mixture Keep beating until everything is creamy and the butter is fully mixed in Smooth texture here is important
- Add dry ingredients:
- Add flour and cocoa powder into your yolk mix Scrape the bowl well to make sure no streaks of dry flour remain Mix until you see a thick fudgy batter
- Blend in warm milk:
- Pour in warm milk gradually as you mix The batter will go from thick to very runny at this stage which is exactly right It should look pourable and silky
- Whip the egg whites:
- Clean your beaters and mixing bowl well before starting Beat the egg whites with the vinegar until stiff peaks form They should be shiny and stand straight up when you lift the whisk
- Combine mixtures:
- Add a couple spoonfuls of the stiff whites to your chocolate batter and stir gently to lighten the mix Then alternate adding some chocolate mixture back to the whites stirring just enough to leave fluffy white streaks Do not overmix as those soft egg white lumps make the top layer
- Bake and chill:
- Pour everything into your prepared pan and slide it into the oven Bake about one hour Keep an eye out for the sides to be set and the middle to jiggle gently when you shake the pan The top should brown a bit Cool to room temperature then cover and chill for at least four hours before cutting
 Save Pin
My favorite part is the silky center custard that pairs so perfectly with fresh berries My grandmother always served it with a scoop of vanilla cream on special holidays and I loved watching the slices reveal all three layers with every cut
Storage Tips
Store leftover cake in an airtight container in the refrigerator where it keeps well for about three days If you want to freeze it you can wrap it tightly and freeze for up to a month Thaw in the fridge overnight before serving The texture stays best when eaten within the first day after chilling
Ingredient Substitutions
You can use gluten free flour blend for the all purpose flour if needed but expect the layers to be a little softer For dairy free try plant based butter and almond milk but the flavor and set may differ Dutch process cocoa makes a darker cake but I prefer the lighter flavor from natural cocoa powder
Serving Suggestions
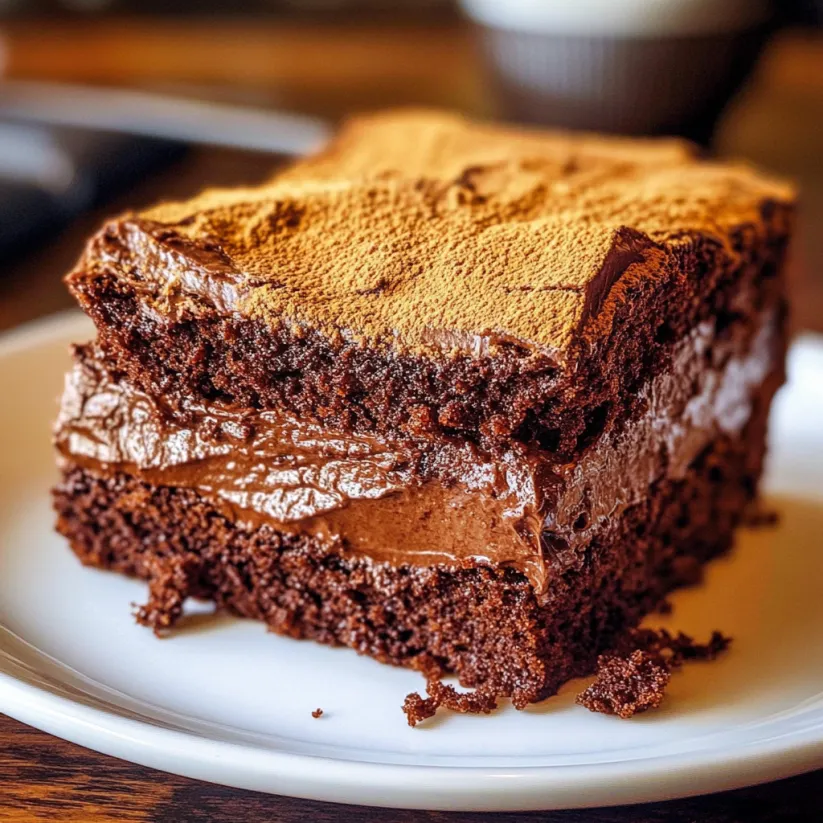
Serve chilled and dust with extra cocoa or powdered sugar Berries are wonderful alongside and a dollop of whipped cream or even a drizzle of espresso over each plate makes it special For a fun twist cut small cubes and layer into parfaits with fresh cherries
 Save Pin
Cultural Context
Magic cake is a beloved dessert across Romania known as prajitura desteapta which means smart cake The technique became popular because it creates three distinct textures from simple homestyle ingredients Most families have their own secret tips passed down for the fluffiest top
Commonly Asked Questions
- → How do the layers form in magic cake?
The layers form as the thin batter separates while baking—the dense base settles, the custard forms in the center, and whipped egg whites rise to create a light top.
- → Why is it important to use room temperature eggs?
Room temperature eggs mix more easily, ensuring the batter blends smoothly and helps create the light, fluffy top layer.
- → What is the best way to check if the cake is done?
Look for set edges with a slight jiggle in the middle. The top should be golden; a toothpick will not provide an accurate test like traditional cakes.
- → Can I use a different pan size?
Stick with an 8-inch square pan at least 2 inches deep for best results. Larger pans will not produce distinct layers.
- → Should I refrigerate before serving?
Yes, chilling for at least 4 hours after baking allows the layers to firm up, making the cake easier to cut and serve.
- → How do I store leftovers?
Keep the cake in an airtight container in the fridge for up to 3 days, or freeze for up to 1 month if needed.